
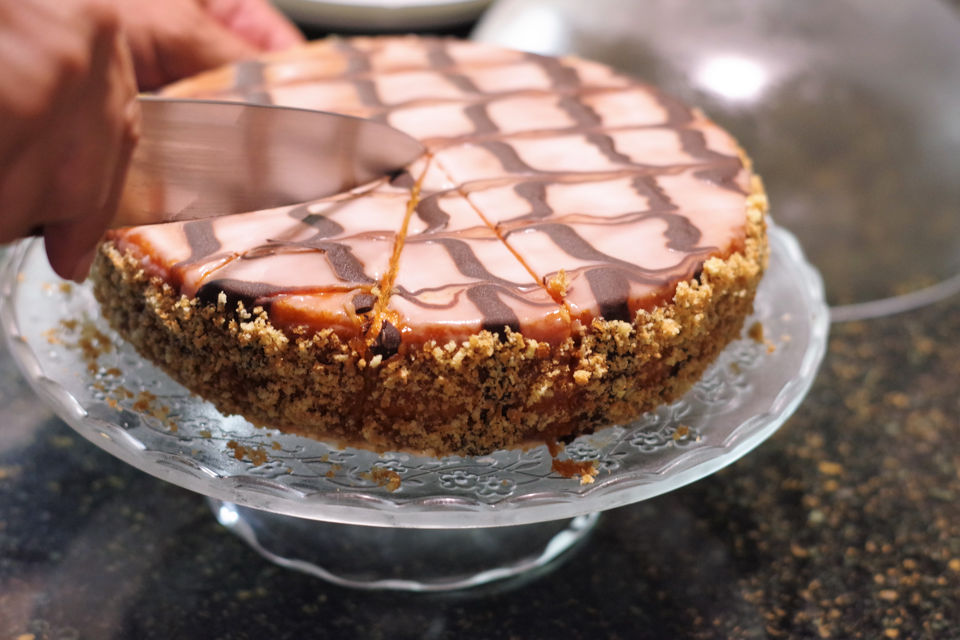
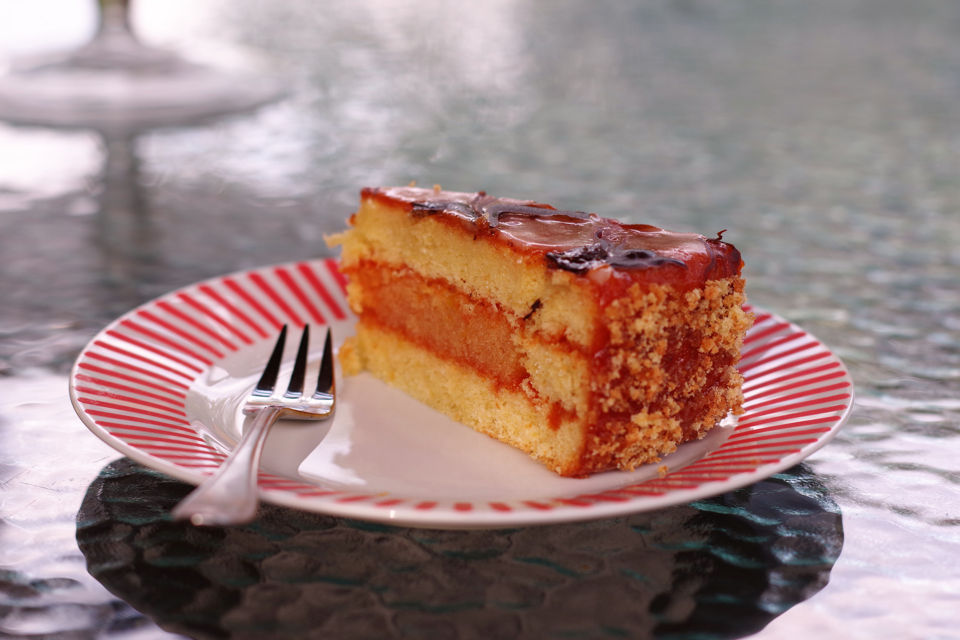
Punschtorte is an aromatic liqueur flavored cake which hails from where else than kingdom of classic desserts, Austria! This rather simple but very unique and delicious cake was my pick for this year to make for our wedding anniversary. From my student days in Belgrade I have been in love with particular pastry that is in Serbia known as “Minjon” or “Punschkrapfen” as it is called in Austria. They were part of standard sweets selection in a student dorm restaurant where I use to eat and I absolutely loved it! This rum flavored small desert you could say is a mini version of a Punschtorte.
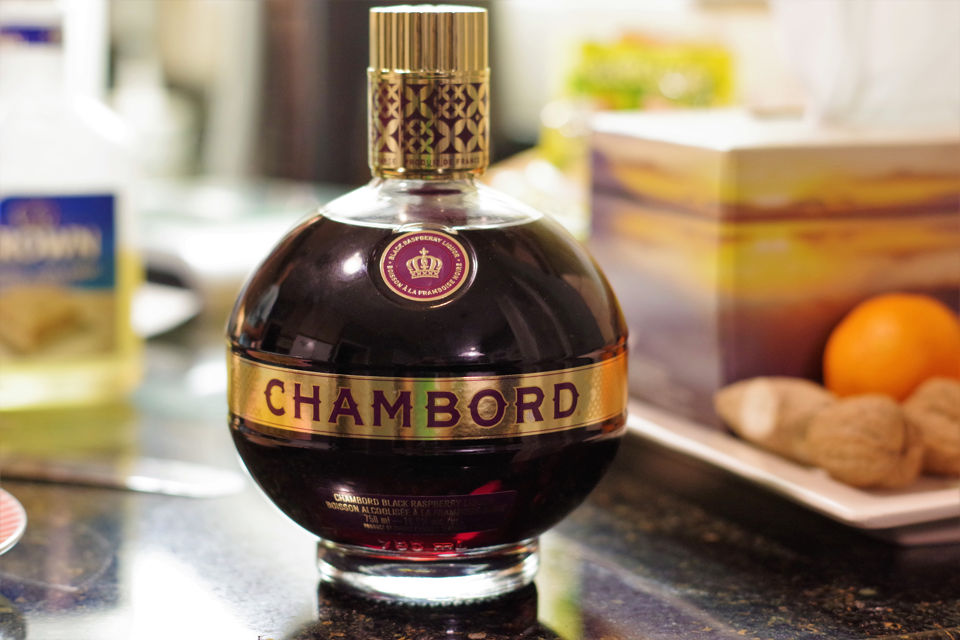
This recipe besides golden rum also uses also Chambord, French black raspberry liqueur. Chambord imparts its unique flavour to the cake as well as its pink color.
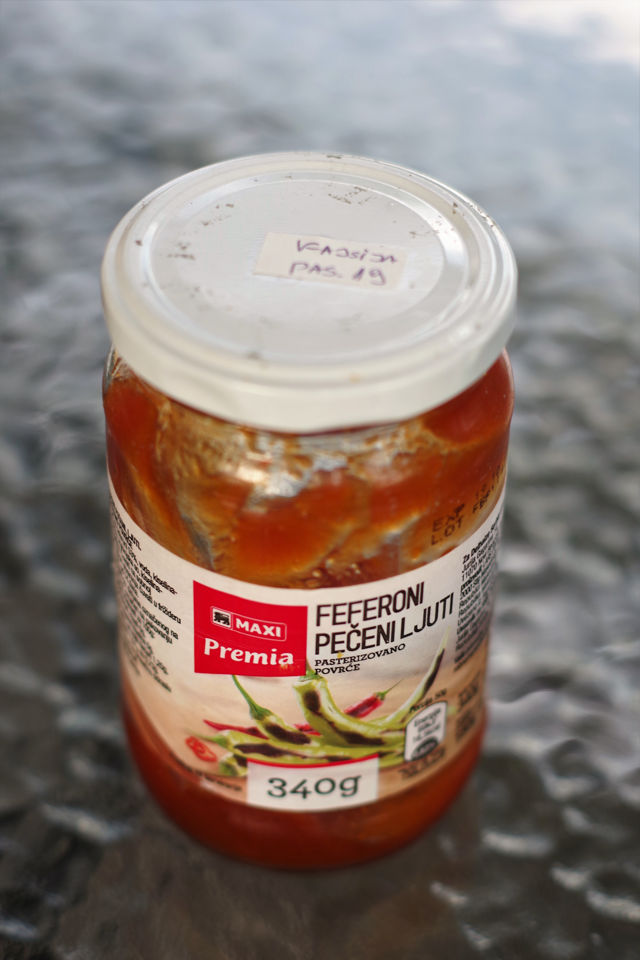
The cake is glazed with Apricot glaze which I made from homemade Apricot jam gifted to us by my wife’s cousin in Serbia. It was so nice and aromatic, perfect ingredient for the cake recipe and the occasion. That is one thing I would strongly advise: always use the best ingredients you can get! It takes lots of dedication, hard work and love to make a real good cake and the last thing you need is to see it ruined or made nothing special by a low quality ingredient.
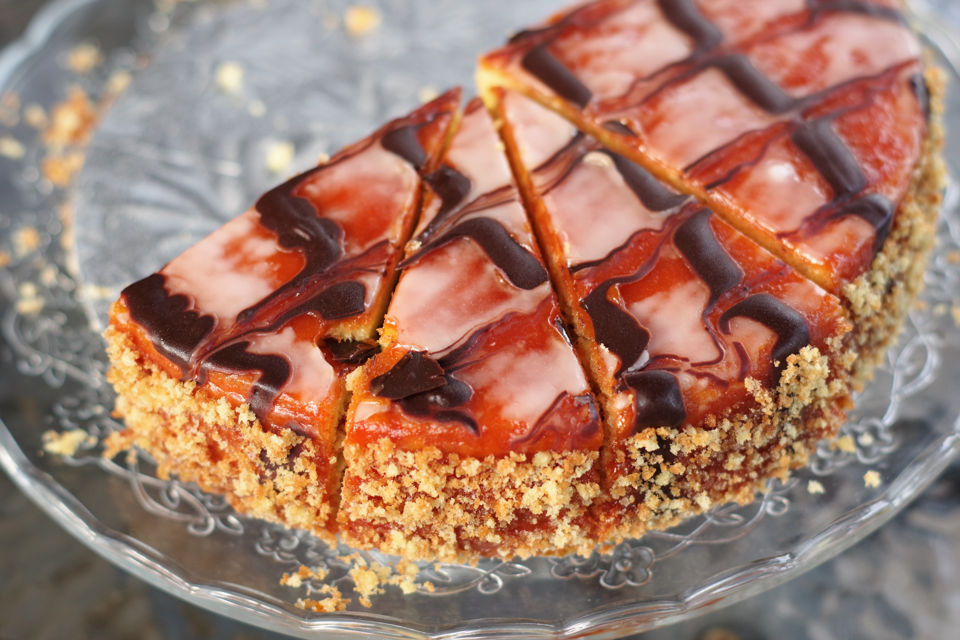
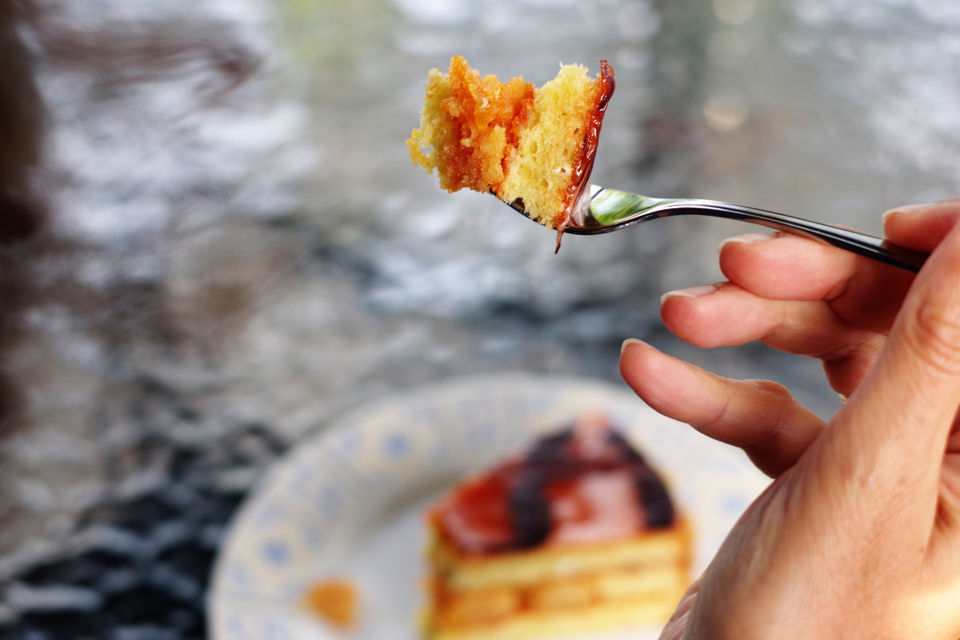
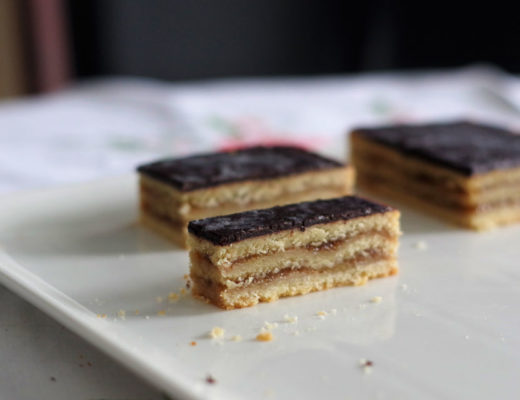
The cake turned out delicious! It has a pronounced citrus flavour, wonderful aroma and a soft sponge cake mouthfeel. Since it does have only tiny bit of butter and no cream or nuts it is very light and seconds are more than likely!
The recipe has been adapted from my favorite book: “Kaffeehaus – Exquisite Desserts from the Classic Cafés of Vienna, Budapest and Prague”.
")
| Prep Time | 1.5 hours |
| Cook Time | 55 minutes |
| Passive Time | 2 hours |
| Servings |
servings
|
- 57 g clarified unsalted butter
- 1 tsp pure vanilla extract
- 8 large eggs at room temperature
- 3/4 cup granulated sugar
- 1 1/4 cup all purpose non bleached flour sifted
- 1/4 tsp fine sea salt
- 1 medium size organic orange zest and 1/4 cup juice
- 1 medium size organic lemon zest and 3 tbsp juice
- 1/4 cup golden Rum
- 1/4 cup granulated sugar
- 2 tbsp apricot preserves
- 2 tbsp Chambord - black raspberry liqueur
- 1 cup apricot preserves
- 1 tbsp + 2tsp golden rum or water
- 60 g good quality bittersweet chocolate finely chopped and melted
- 3 3/4 cup confectioner's sugar sifted
- 1/4 cup filtered water more if needed
- 2 tbsp light corn syrup
- 1 tbsp Chambord - black raspberry liqueur
Ingredients
Sponge Cake
Punch
Apricot Glaze
Chocolate Decoration
Pink Faux Fondant Icing
Additional Accessories
|
|
- Position the rack in the center of the oven and preheat to 177°C (350°F).
- Butter a 230 mm (9" ) springform pan, and line the bottom with round parchment paper. Dust with flour and tap out the excess.
- In a small saucepan, bring the butter to boil over medium heat (5 out of 10). Cook about 1-2 minutes, until the milk solids in the butter turn light brown. Remove from heat and let it cool for 5 minutes.
- Strain the clarified butter from solids and foam through paper coffee filter to a small bowl. Stir in the vanilla extract.
- Combine eggs and sugar in a heat proof mixing bowl, whisk as you add the sugar to avoid forming lumps. Keep the bowl over the saucepan with simmering water and keep whisking until warming up the mixture to about 37°C (100 °F). Make sure all the sugar is dissolved, test it by rubbing it between the fingers.
- Beat with mixer on medium high speed until tripling the volume and the mixture is very light and fluffy, about 3-5 minutes.
")
- Combine together flour and salt. In two additions sift the flour over the the egg mixture. Use large balloon whisk or rubber spatula to fold together. Do not over mix it and deflate the mixture! Leave a few visible wisps of flour before adding the second flour addition.
- Transfer about 1 cup of batter into the bowl with clarified butter. Fold together until it is well blended. This will put the butter in suspension and allow it to be easier incorporated to the rest of the batter. Pour this back into the rest of the batter and fold in gently until fully mixed in.
- Pour the batter into the baking pan and bake about 40 minutes, conventional oven. The cake is done when the top springs back when pressed lightly in the middle.
- Transfer the baking pan to a cooling rack and let it cool for 5 minutes.
- Remove the sides of the pan, invert onto the rack, remove the parchment paper. Reinvert the cake onto the rack, right side up. Let it cool completely.
")
- Add orange and lemon zest, orange juice, lemon juice, sugar, apricot preserves and Chambord liqueur to a small saucepan. Bring to boil over medium heat (5 out of 10), stirring often. Cook for about 2 minutes and then pour punch into a medium mixing bowl.
- Trim off the domed top of the cake, leveling it off. Grind the trimmings in the food processor to make cake crumbs. Store cake crumbs in a sealed small bowl.
- Cut cold cake crosswise into 3 equal layers. Insert the toothpick in each layer, lined up above each other vertically. This will help you with accurate edge alignment when assembling the cake. Flip the cake upside down, the bottom layer which is the flattest will become top of the cake.
")
- Place the trimmed layer (now at the bottom) on 9" cake pad.
- Take middle layer and place on a parchment paper. Using a sharp knife cut a round shape in the center, starting 2.5 cm (1") from the edge of the layer. When cut round is removed you will be left with 2.5 cm (1") wide cake ring.
")
- Add the apricot preserve and rum in a small saucepan. Bring it to a boil over medium heat, stirring constantly. Continue cooking for another 2-3 minutes until the glaze is very sticky. Strain the glaze through a wire sieve into a small bowl, pressing hard on solids using the back of the spoon.
")
- Cut removed cake round into cubes.
- Mix the cubes with the warm punch by soaking them and gently tossing.
")
- Brush the bottom cake layer with some apricot glaze, especially around the perimeter.
")
- Top it with the cake ring layer making sure the toothpicks are aligned.
")
- Fill the ring with soaked cubes, even out the filling with your fingers.
")
- Brush the cut side (the side that will sit on top of the cake ring layer) of the top layer with some more apricot glaze. Place the glazed side down making sure the toothpicks are aligned. Press firmly to adhere the layers, remove the toothpicks.
- Brush the top and sides of the cake with the remaining apricot glaze and make it smooth. Refrigerate about 10 minutes until the glaze sets.
")
- Melt the chocolate over double boiler. Prepare a small parchment paper cone for piping, transfer melted chocolate to the cone.
- Add confectioner's sugar, water, light corn syrup and raspberry liqueur (Chambord) to a small saucepan and stir until smooth. Over very low heat, stirring constantly, warm up the glaze to the temperature of 33° to 35°C (92° to 95°F). Watch the temperature carefully! If temperature rises above 35°C (95°F) you will have to do it all over again! Quickly pour the warm fondant icing over the glazed cake. Smooth it over evenly with offset metal spatula.
")
- Immediately pipe parallel straight chocolate lines on top of the cake. Start 2.5 cm (1") from the bottom edge and maintain the same spacing between all the lines to the top edge.
")
- Using a tip of a small sharp knife lightly draw a straight line from right to left, starting 2.5 cm (1") from the bottom edge, across or perpendicular to the chocolate lines.
- Draw another line with knife tip that is spaced 2.5 cm (1") from the first one, but this time draw it in opposite direction or from left to the right. Continue drawing lines and altering line directions until the other end of the cake is reached. This will create a feathered effect. Make sure you wipe off the knife with a towel after drawing each line.
")
- Press the cake crumbs on the side of the cake using an offset spatula.
")
- Cover and refrigerate the cake to set the glaze, best if left overnight. Serve chilled.
")
8 Comments
Nancy Jacovina
December 18, 2021 at 8:25 pmYour instructions look great and will be very helpful in my attempt to make this cake. I noticed that in the Kaffehaus book the author says to use a 9.5 or 10 inch springform for the large sponge cake. I was wondering if there is a reason you are using a 9 inch pan.
Gordan
December 18, 2021 at 11:44 pmHi Nancy, thank you for visiting my blog and for your fine words! In my copy of the Kaffehaus book, 2002 first edition, it actually calls for 9″ springform for a large Warm-method sponge cake. Furthermore I really would not recommend using anything larger because that would make sponge too thin and might be challenging to cut into 3 layers. I wish you good luck with your baking and let me know how it turns out?
Bryan Gogal
October 31, 2021 at 11:06 amExcellent recipe, Gordan! Very well done and terrific photos! I use to do a similar style cake – only it was baked in a domed metal mixing bowl. I have an old one that doesn’t have that flat bottom most have today which is perfect. You baked the cake (I believe the name was Gypsy John – chocolate cake) then when done, inverted it and cut a small slice off the top. Then you carefully removed the cake from inside leaving just the base and the shell. Soaked the cake pieces in booze. Then reassembled – layer of whipped cream, layer of cake and so on. When filled, put the top piece back on. But here’s the kicker. Instead of an apricot glaze, the recipe called for using black currant jelly as a glaze. When set pour a chocolate ganache over the cake and decorate with swirls of whipping cream which were suppose to represent a gaily decorated gypsy wagon. Point being, I think that black currant glaze would work better here than apricot, pairing nicely with the Chambord. I’ll give it a shot.
Gordan
October 31, 2021 at 1:49 pmThank you for your comment and kind words Bryan, I appreciated it! I am glad that you like the recipe and would love to hear back how did it turn out with the black currant glaze?
Melissa
July 16, 2021 at 6:21 pmOhhh thank Heaven for your blog! This masterpiece of a cookbook has been on my wish list for so many years and I finally purchased a copy! I had some fresh organic summer black cherries so I baked the Cherry-Almond Coffee Cake from the “simple cakes” chapter, and it is delicious! So now I am perusing the “Fancy Cakes” chapter and was as confused as I was intrigued by the preparation of the Punschtorte! Your explanation with the photos is sooooo helpful, thank-you so much for this!
I understand it is traditionally a Christmas time dessert, but a friend of mine is celebrating Christmas in July so it would be fun and unusual here in Austin, Texas!
Now I must go check out the Vincent Price video mentioned in the precious post by Donald! How interesting!
Gordan
July 17, 2021 at 6:15 pmYou are very welcome and thank you for your kind words Melisa! I am happy that you find my writing helpful. Happy baking and let me know how your Punschtorte turns out?
Donald
September 27, 2020 at 2:55 amI am definitely going to try this cake! I just listened to Vincent Price on YouTube detail a full Viennese meal with recipes in a recording series done in the early 70’s. It finished with a simpler version of this cake (his started with a yellow cake mix for the layers). But the fondant topping, cake-cube center…all were there. Yours is the only recipe I’ve found online that comes close to what he described. 🙂
Gordan
September 28, 2020 at 9:08 amThanks for visiting and leaving a comment! I am really happy that you like the recipe! Let me know how it turns out and if you have any questions related to the recipe?