
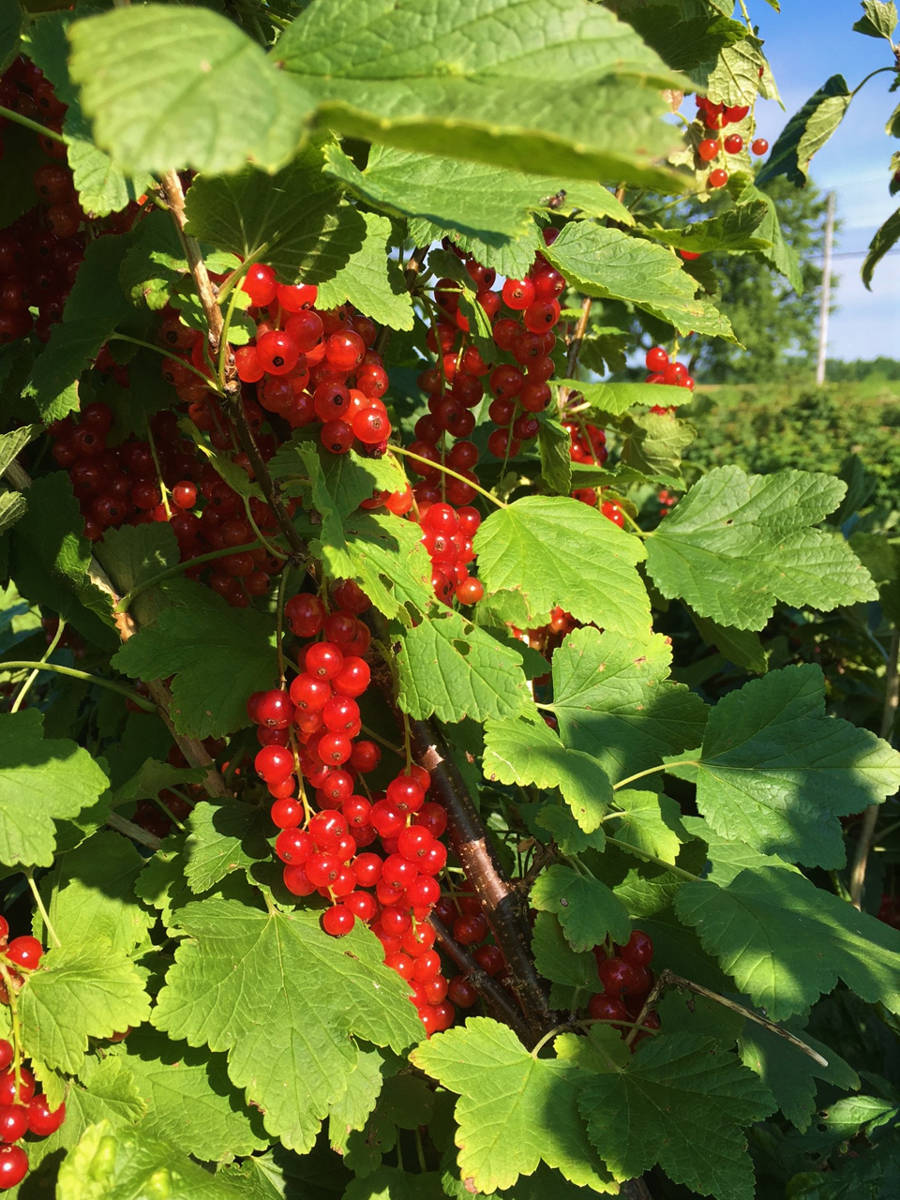
The currants and their translucent, gloriously colorful, flavorful and vitamin rich berries are not a popular fruit. Tart tasting fruits in general don’t get enough attention. How often do you see currants in the fruit section at the store? I don’t recall seeing them at all. Even when we were picking our batch at the farm, few days ago, we were the only pickers out there!
That is very unfortunate because I think that currants are an amazing fruit with a unique and intense flavor that deserves more consideration and respect. Yes, some of us like them fresh but where the flavor of this fruit comes to a full power is in the form of jams, jellies, and yes, fruit pies. That is where the complex tart flavor gets a sweet partner; sugar. To enhance the taste, it is often mixed with other berries. In this pie that will be with raspberries. Both currants and raspberries are tart fruits and on first look, appear as an unlikely combo, but they are not. The mix of the two berries produces a delicious blend of flavor and texture.
The recipe is adapted from “The Pie and Pastry Bible” and is another great one. I made a mascarpone cheese crust variation just because I had some cheese left over in the fridge. The crust was very tender and flaky and was excellent. It is somewhat trickier to handle than the crust made for Strawberry-Rhubarb Crumble Pie in my previous blog. Trickier in a sense that the dough is sticky and hence more difficult to work with, especially when making a lattice.
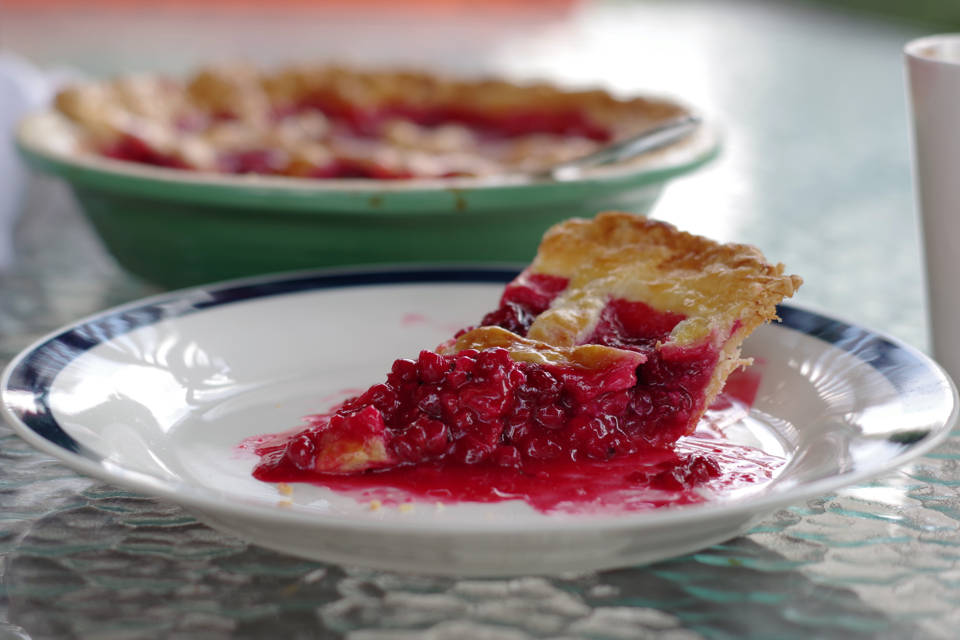
We savoured the pie with some coffee and it was gone by the end of the day. It is hard to have a better compliment than that.

r")
| Prep Time | 45 minutes |
| Cook Time | 50 minutes |
| Passive Time | 3 hours |
| Servings |
servings
|
- 113 g unsalted butter cold
- 184 g all purpose flour
- 1/8 tsp sea salt
- 1/8 tsp baking powder
- 85 g mascarpone cheese cold
- 1.5 tbsp ice water
- 1/2 egg white large, lightly beaten
- 150 g granulated sugar
- 2 tbsp cornstarch
- a pinch sea salt
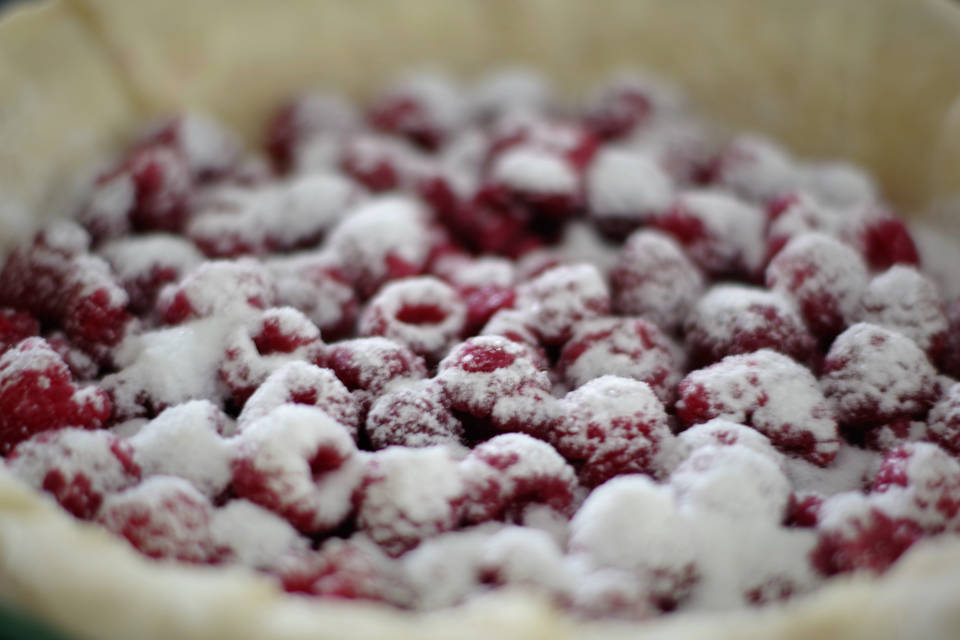
- 234 g red currants rinsed, stems removed, dried
- 284 g red raspberries
- 2 tsp lemon juice freshly squeezed
- 1 egg yolk large
- 1 tsp heavy cream
Ingredients
The Crust
The Filling
The Glaze
|
|
- Place a medium mixing bowl in the freezer to chill for about 30 minutes.
- Cut the butter into approximately 20 mm (3/4") cubes. Wrap in plastic wrap and refrigerate for at least 30 minutes.
- Place flour, salt, baking powder into a medium bowl and mix to combine.
- Add the mascarpone cheese and rub the mixture between your fingers until it has a consistency of a coarse meal.
r")
- Transfer the flour mixture and cooled butter into a large Ziploc bag. Expel any air from the bag and close it. Use a rolling pin to flatten the butter into flakes. Put in the freezer for 15 min, until butter is firm.
r")
- Empty the bag, scraping the sides of the bag into the chilled mixing bowl.
- Add the ice water to the mixture and toss around with wooden spoon until somewhat incorporated. Knead with your hands briefly until the mixture holds together in one piece. Work as fast as you can to prevent softening the dough.
- Divide the dough, cutting out about 1/3 for a lattice. Use about 270 g for a shell and the rest for the lattice. Flatten the pie shell dough into a disc and lattice dough into a rectangle. Wrap each in plastic wrap and refrigerate for at least 1 hour, preferably overnight.
- Cut a piece of parchment paper, big enough to be able to roll the pie shell on with a diameter of 330 mm (13").
- Take out the chilled pie shell dough disc from the fridge and roll out the dough with a rolling pin on top of the parchment paper, working from the center out. Keep rotating the paper to make the dough circle as even as possible. Work quickly to prevent the dough softening. The final rolled dough circle will be 330 mm (13") with thickness of about 3 mm (1/8").
- Transfer the dough into a 229 mm (9") baking pan. Turning the parchment paper upside down, carefully peel off the paper. Fit the dough gently to the pan without stretching. The dough should extend about 19 mm (3/4") past the side of the baking pan. Fold the dough under so it is flush with the outer edge of the pie pan. Cover with the plastic wrap and refrigerate for at least 30 minutes.
- In a medium size bowl mix together sugar, cornstarch and salt.
- Spread half of the currants over the bottom of the pie shell following with half of the raspberries on top of them.
- Sprinkle the berries with half of the sugar mixture.
- Repeat with another layer of currants following with layer of raspberries and sprinkling the remainder of sugar mixture.
- Add the lemon juice.
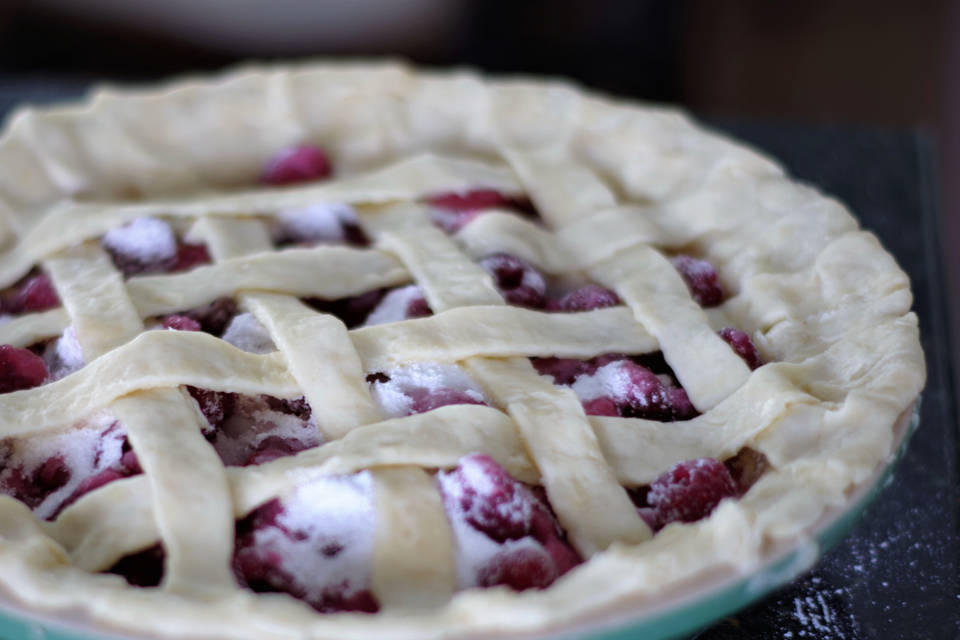
- Roll out the smaller rectangular piece of dough into an oval shape, roughly 254 mm x 203 mm (10.5" x 8"). Using a ruler and pizza or pastry cutter, cut nine 19 mm (3/4") strips.
- Arrange woven lattice decoration with 5 lattice strips spaced evenly in one direction, and another 4 at a 90° angle. Use the egg white to moisten the dough under each strip.The easiest way to weave the lattice is to gently curve back every other lattice strip. The 2nd and 4th strip curve back to just pass the center and place another strip perpendicular on top. Now uncurve the two strips so they lie flat on top of just inserted perpendicular strip. Now curve back the strips 1,3 and 5 and place another strip perpendicular on top. Follow with uncurving them flat. Turn the pie 180° and repeat the process with two more strips.
- Trim each strip to 13 mm (1/2") overhang and tuck it under the crust border, press it down to adhere.
- Lightly beat an egg yolk and the cream.
- Brush the lattice and the border with the glaze.
- Preheat the oven to 218 °C (425 °F) for at least 20 minutes before baking.
- Set the oven rack at the lowest level.
- Bake the pie for 40 to 50 minutes. After 15 min of baking, protect the pie edge from burning with an aluminum foil ring.
- Cool the pie on a rack for a minimum of 3 hours before serving.
I strongly suggest that you roll out the dough on the parchment paper, and also when you make the lattice. If you do it on the counter you will not be able to take the dough off, even if the counter was well dusted with flour.
No Comments