
Happy Easter! – Христос Воскресе!
I took a bit of a break from writing, for the past several weeks. It was just crazy around here since about mid March. With the daily news overload on current pandemic, it took us a little while to find our bearings and adjust to the new “normal”.
Fortunately for everybody the last few days things seem to be calming down somewhat and that is a hope that this all will end soon!
So what was I doing all this time? I was baking; I was baking a lot. Everybody is back home, the house is full and anything I make vanishes within a day or two! I like it actually! Baking and cooking are my passion and now I have plenty of opportunity to test and try whatever dish, bread or pastry I like.
This year Eastern Orthodox Church Easter falls on April 19 and curious me decided to make something new. Exciting!!!
Customarily, every previous year I was making a traditional Easter sweet bread or pogaca, by some variation of my mother’s old recipe.
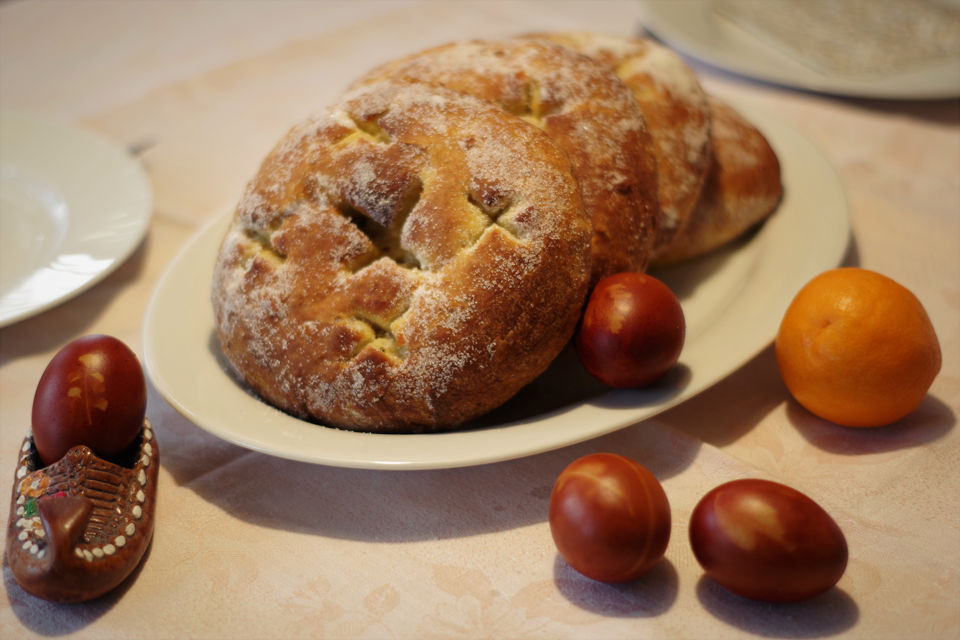
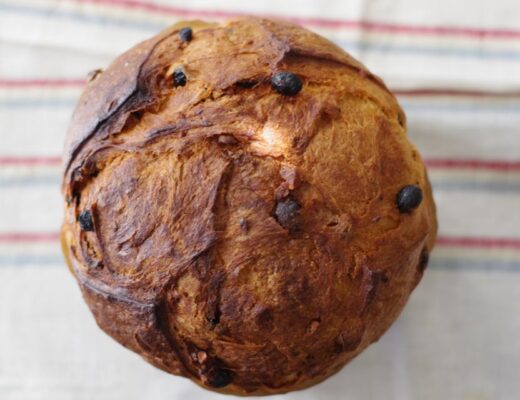
This time I decided to make Gibassier, a traditional pastry from Provence, France. Although traditionally this sweet bread is a Christmas time favourite I found it to be a perfect fit for Easter as well.
The recipe is inspired by San Francisco Baking Institute recipe and adapted from Wild Yeast blog. It is important to note that I had a major challenge in that I do all my dough kneading by hand. The recipe called for use of a stand mixer (and a rightfully so) which at the present time I don’t have. It is not really the cost of it, I just like the touch and feel of dough (although this experience might speed up my decision to acquire one soon).

The challenge I faced was how to manage developing a strong gluten in the dough containing only about 80 ml of water on near 600 g amount of flour! The rest of the ingredients from egg to fat, inhibit gluten development and have to be added in small increments. This must be done at the right stage of dough development, or else everything will turn into a sorry mess!
Talk about challenge, this was as good as it could get.

After much thinking I applied the same strategy as for kneading Panettone by hand; start with basic dough containing dry ingredients, olive oil and water, add slowly and incrementally egg, sugar, butter (in that order) and finish off with adding candied orange peel and anise seeds. Yes, and along way; knead, knead and patiently more kneading.
The trick is not to rush it and keep developing the dough slowly. It is important to note: by the time you start to add butter, the gluten has to be fully developed, and you have a strong and elastic dough. If you add butter too soon the dough will fail.
Overall it took me 2.5 hours of constant kneading from the start by the time I mixed in candied orange and Anise seeds. Hardly encouraging information for someone thinking making Gibassier by hand, but hey, I certainly proved it is possible!
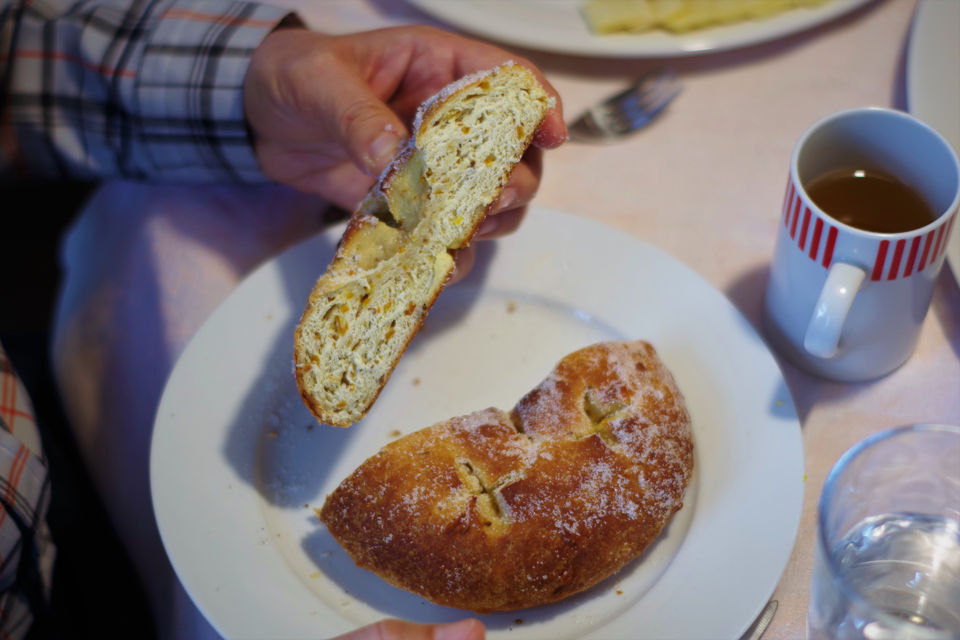
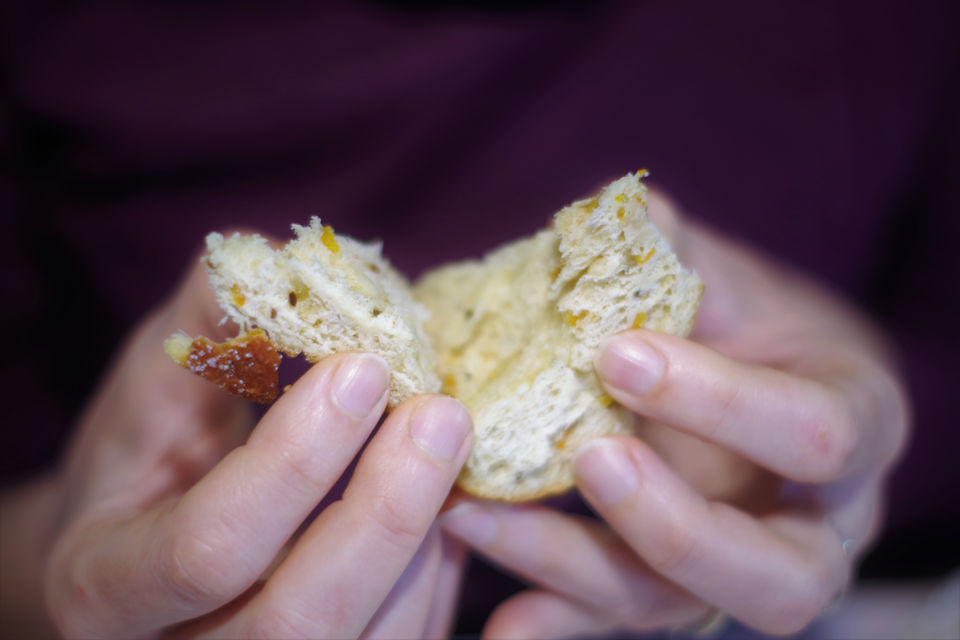
When it comes to taste, it turned out just fantastic! It is one of the nicest sweet bread pastries I ever had! Now I fully understand why so many wrote so highly about it! It is soft and fragrant, sweet and aromatic. Love it!
Gibassier was definitely a highlight of our Easter breakfast table this year and I will definitely make it again, likely for Christmas. However, it is highly unlikely I will do it again by hand. A stand mixer is one of my birthday wishes.

")
| Prep Time | 3 hours |
| Cook Time | 15 minutes |
| Passive Time | 3.5 hours |
| Servings |
loaves
|
- 155 g all purpose non bleached flour
- 70 g milk room temperature
- 19 g egg room temperature
- 0.1 g instant yeast a pinch
- 594 g all purpose non bleached flour
- 7 tsp instant yeast
- 1 3/4 tsp fine sea salt
- preferment all of it
- 112 g extra virgin olive oil
- 167 g egs room temperature
- 48 g filtered water
- 37 g orange blossom water
- 149 g granulated sugar divided
- 112 g butter room temperature, divided
- 149 g candied orange peel diced
- 12 g anise seeds
- 1/2 cup granulated sugar
- 50 g clarified unsalted butter
- 1 Large plastic bag for dough proofing
- 1 spray bottle with water for oven steam creation
- 2 oven racks
Ingredients
Preferment
Final Dough
Garnish
Additional accessories
|
|
- 8:00 pm - Day 1 In a small bowl soak instant yeast in milk for 5 minutes and then add flour and egg. Knead with fingers until fully combined, cover with plastic film and leave at room temperature for 12-16 hours.
- 12:00 pm - Day 2 Add flour, salt, instant yeast, preferment, water, orange blossom water, olive oil, half of the egg mixture to a large mixing bowl. Mix and knead by hand for 5-10 minutes working out the dough.
")
- In small increments keep adding the rest of the egg (3-4 increments) making sure each time that the egg is fully absorbed by the dough before new is added.
")
- In small increments (2-3 tbsp per increment) knead in the sugar. Again don't add new sugar until the dough absorbed the previous addition and is smooth and not sticky.
- In small increments (1-2 tbsp per increment) knead in softened butter. After each addition make sure the butter is fully absorbed by the dough.
- Add candied orange peel and anise seed, knead until evenly distributed throughout the dough.
- Shape the dough into a ball, put into a buttered bowl, cover with plastic film and let it rest for 1 hour at room temperature.
")
- Transfer the dough onto lightly floured counter. Divide the dough into 4 equal pieces using a bench scraper. Shape each piece into a ball, lightly sprinkle with flour and cover with plastic film. Let it rest for 30 minutes.
")
- Prepare large plastic bag (my was 34"x 28" (85 cm x 70 cm)) that can receive two 11" x 17" (28 cm x 43 cm) baking pan and medium size bowl with warm water. This is where you will proof the dough before baking.
- Flatten the dough ball with palm of your hand and make 6"- 7" (15 cm - 17.5 cm)diameter disk, about 3/4" (19 mm) thick. Use a rectangular plastic tool pieces to cut a cross pattern on the dough. Do not use knife, it has to be a tool with straight edge that will cut straight down, guillotine style.
")
- Place the disk on parchment paper lined baking pan.
")
- Repeat the same with other 3 dough balls, placing 2 disks per baking sheet.
- Put both baking sheets in the large plastic bag with bowl of warm water, seal, and let proof for 1.5 - 2 hrs. Replace warm water as it cools off. The dough is proofed when it passes "touch test" (see instructions bellow).
- Pre-warm the oven to 375ºF (190ºC) (convection oven) or 400ºF (205ºF) (conventional oven). Place one rack at the bottom and one at upper third of the oven.
- Place both baking pans in the oven, spray the side walls and the back of the oven, quickly close the door. This will create a sufficient steam necessary for initial phase of baking.
- Bake for 8 minutes, open the door briefly to vent off the steam. Close the door and bake for another 6-8 minutes until golden brown.
- Brush the warm bread with clarified butter and either sprinkle with sugar or drag it through the sugar lined pan.
")
- Tap off excess sugar and let cool of at the cooling rack.
- Store at room temperature in a sealed plastic bag.
- plastic cutting tool for cross marks can be cut from the lid of old container (cheese, sour cream, yogurt etc.
- "touch test" - lightly touch and press the proofing dough with floured or wet finger. If finger imprint comes bask about 50% the dough is ready for the oven. If it comes back 100% it is under proofed, give it some more time. If it does not spring back at all it is over proofed and you will end up with pastry without any oven spring.
No Comments