
My first encounter with Danish pastries or the traditional “Danish” was upon my arrival to Canada, many years ago. That is the taste I was accustomed to until this summer on my trip to Copenhagen. Our trip was a pleasant and memorable experience and it was the first time for all of us to visit one of the Nordic countries. Everything I learned about Denmark and Danes was impressive. Contrary to the cold Nordic culture stereotype, I found Danes to be warm, relaxed and approachable. Their friendliness and feeling of being in content and at ease is infectious and quickly takes over anyone that comes into their surrounding.
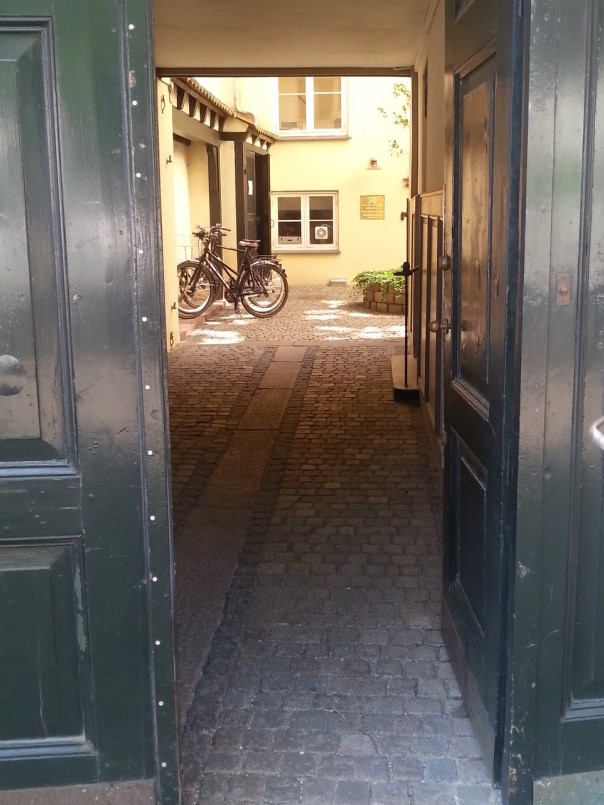

Copenhagen is a beautiful city; it is modern, well organized, and impeccably clean with great history and architecture. It was here that I learned what biking oriented city really looks like. Thousands upon thousands of bikes stream in waves along carefully designed bike roads. Yes I would call them roads since they are so different from the customary narrow bike paths we have in Canada (for which we are by the way very thankful for since even they are rare). These bike roads run along main streets but are normally separated and raised for a curb height of about 15 cm or 6″. Bike roads have even their own traffic lights. Everybody in Copenhagen rides bikes: men in suits, ladies in skirts, young and old, mothers or fathers with their children. It is beautiful.


Interestingly, during our stay, I did not notice any presence of police on the streets and yet we felt totally safe. I did not see any homeless people, nor anybody being drunk or aggressive. I did not see any beggars nor poor souls aimlessly standing at the street corners. Whatever they did, the Danes seem to have a good handle on efficiently dealing with their societal social issues.
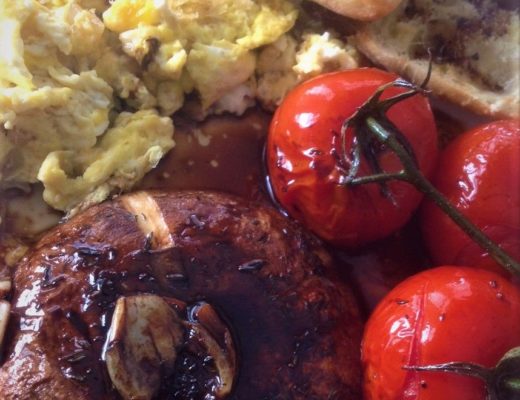
We had our first breakfast at ” Sankt Peders Bageri “, the oldest bakery in Copenhagen. It is a cute, rustic looking bakery dating back to 1652. Chandeliers on the ceiling, old photos on the walls, black ceramic tiles on the counter, small unfinished wooden tables in the seating area make this place cozy and comfortable. I had a curry chicken sandwich, apple pastry and cappuccino. Oh my goodness was that ever good! The bread was soft and chewy with a wonderful aroma. Initially I hesitated when I saw a curry spice in a sandwich but I took it since that was the only one available. It was a great sandwich and the taste was out of this world. The apple pastry had a crumbly sweet texture and a filling that was slightly sour, reminiscent of a small pie. I would say simple and familiar components but yet the taste was not simple; it was phenomenal.
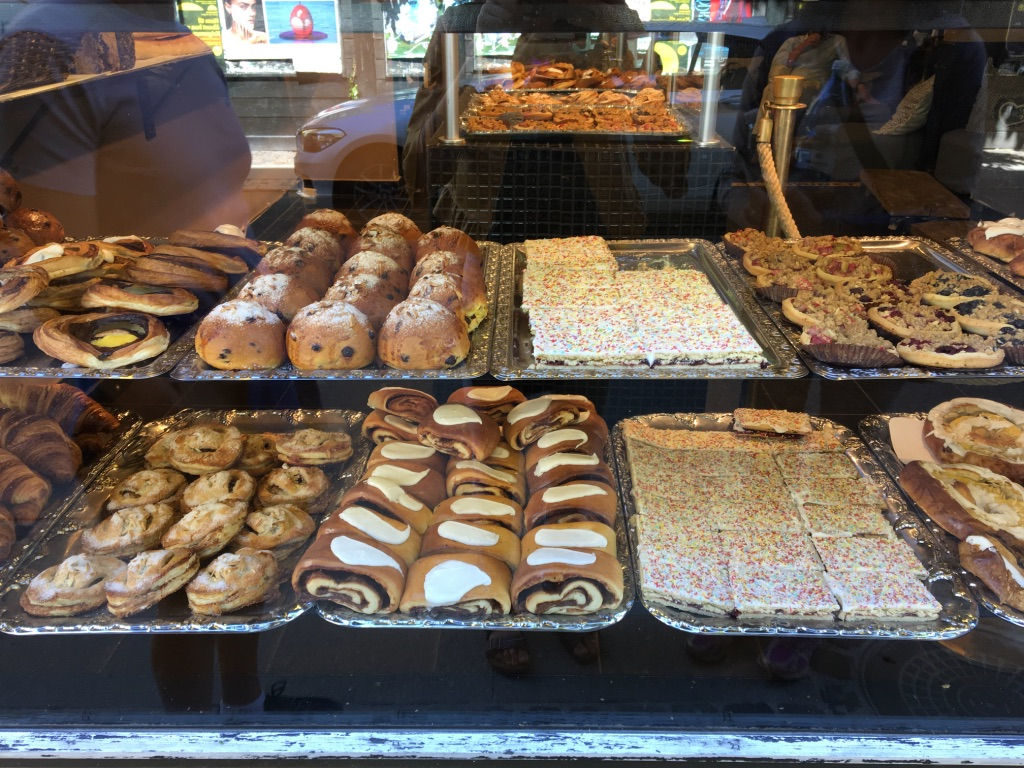
It is not a surprise that after such experience we came back to the same bakery every morning during our stay in Copenhagen. We tried their famed cinnamon rolls as well as number of pastries filled with jam and pastry fillings. All of them had a unique, hard to forget taste and definitely was very different from what I knew as a “Danish” back home in Canada.
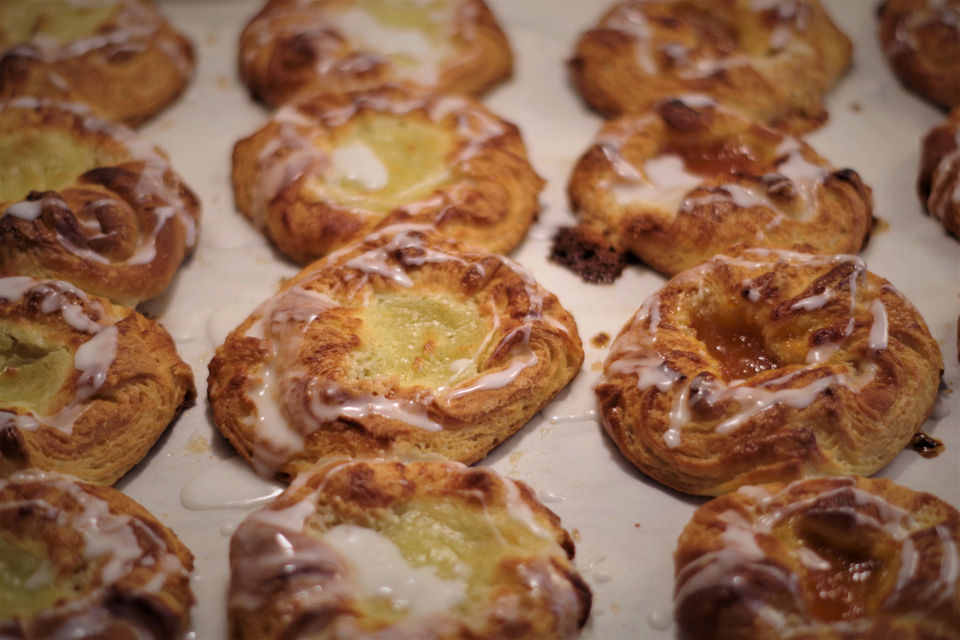
As I returned back home, I was very inspired to make my own “real Danish”. After much research followed by several trials, I successfully made my own traditional Danish pastry with marzipan, vanilla pastry cream and apricot jam. In my estimation, it is not difficult to make and anyone can with satisfaction replicate the process I will describe in detail. At the bottom you can also find a recipe variation of this pastry, a Danish pastry bar, that is as easy to make and uses the same ingredients. Those with more baking experience will do it better and easier at first than beginners but the result will be equally satisfying. Making the laminated dough takes some practice but once you know it, making anything from Danishes to croissants and puff pastries becomes within your reach. Each new bake will be more successful than the previous one.
The recipe has been adopted from “Kvali” blog by Max M Rasmussen.


| Prep Time | 1 hour |
| Cook Time | 30 minutes |
| Passive Time | 2 hours |
| Servings |
servings
|
- 375 g all purpose non bleached flour
- 200 g milk cold
- 25 g fresh yeast
- 40 g granulated sugar
- 50 g unsalted butter softened
- 1 egg
- 375 g unsalted butter cold, used for dough lamination
- 50 g marzipan tempered to room temperature
- 50 g unsalted butter tempered to room temperature
- 50 g granulated sugar
- 2 eggs
- 100 g granulated sugar
- 1 1/2 cup heavy cream 35% butterfat
- 2 tbsp cornstarch
- 2 tsp vanilla sugar
- 1 cup apricot jam
- chopped almonds for garnish
- 1 egg
- 1 tbsp heavy cream or substitute with milk or water
- granulated sugar for sprinkling
- 100 g confectioner's sugar
- 1 tbsp water
Ingredients
Pastry Dough
Pastry Marzipan Filling
Pastry Cream
Fruit Jam Filling
Egg Wash
Glazing
|
|
- In a small sauce pan mix together vanilla sugar, granulated sugar and corn starch. Stir and make sure there are no lumps.
- Over medium heat add small amount of cream (about 1/4 cup) and whisking constantly dissolve any lumps. Add the rest of the cream and eggs. Whisk the eggs until they are fully integrated in the mixture. Keep whisking constantly to prevent burning and cook until cream starts thickening up. Don't overcook it or you will end up with the scrambled eggs.
- Remove from the heat and keep whisking until the cream is cooled off or transfer to a cold bowl and put aside.
- In a small bowl add sugar, marzipan and butter. Kneed it together until you get a unified, homogeneous mass. Don't overdo it or the butter will start melting and will become sticky.
- In a large mixing bowl add milk, whisk in the sugar and dissolve the yeast.
- Fold in about 1/2 of flour and mix until unified. Stir in softened butter and then add the rest of the flour. Kneed the dough together just until removing all the lumps. Form the ball, lightly flour, cover and let rise for 1 to 1.5 hours at room temperature.
- Soften the butter by pounding it with rolling pin. Sprinkle butter with flour, cover with parchment paper or stretch wrap to prevent flour dust from dispersing. Pound the butter over it. As the butter is flattened, fold it in two and keep repeating process until it forms consistency of a soft dough. Shape butter in a ball. The process of butter softening will take about 5 minutes. Avoid prolonged contact of your hands and butter or it will melt and become sticky. Note: The goal is to have butter have the same consistency as the dough it will be folded in. Both butter and dough that are of same consistency will work better together during the laminating process.

- Roll the dough out in shape of a butterfly. Each corner and the middle of the butterfly shape should be roughly the size of prepared butter ball. Leave middle section slightly thicker. For example if each rolled out corner of butterfly shape is about 3 mm (1/8") thick than the middle section of the shape should be about 12 mm (1/2").
- Put the butter ball in the middle of stretched dough shape, fold each corner of the dough over the ball. The thickness of the dough that encased the butter ball will end up being almost the same on the top and at the bottom. Turn the wrapped ball upside down, seams down, dust with flour to keep from sticking and gently press with palms of your hands into a rectangular shape.

- Using plenty of flour for dusting gently roll the dough out into a rectangular shape. The width to length ratio is 1:3; the stretched dough should be 3 times longer as it is wide. The dough is fragile so be careful as the dough is being turned over and rolled, do not rush it!

- Fold the dough rectangle into thirds, stacked on top of each other. Cover the dough and leave to rest in the refrigerator for 20 minutes.

- Repeat the same process of rolling the dough rectangle that is 3 times longer than wider, folding, and resting it in the fridge for 20 minutes. If during rolling process butter punctures the surface of the dough just add some flour to that area and continue.

- Repeat the same process and let the dough rest in the fridge for 20 minutes. Pat yourself on the back, you have just created a 27 layer pastry dough!
- Roll out rested dough into a square shape, approximately 40 cm x 40 cm (16"x 16"). Dust with flour on each side to keep from sticking.
- Using a pizza cutter carefully cut the dough into a sixteen 4" squares.

- Put about 1 tbsp of marzipan filling in the middle of square. Fold all the corners by slightly overlapping them in the middle, press corners firmly into enclosed marzipan filling that will hold them together.

- Place filled dough pastry onto a baking pan lined with parchment paper. Repeat the same process with the rest of dough squares.
- Brush all pieces lightly with egg wash, make them moist and shiny but not wet. Cover and let rise for 1/2 to 1 hour in warm place.
- As the dough squares about double in size lightly press with fingers in the middle of each square. This will create a small hollow and firmer bond with marzipan filling.
- To each of 8 squares add about 1 tsp of a pastry cream in the depression in the middle and sprinkle with granular sugar around the edge. You can garnish the top with chopped nuts (almonds or hazelnuts).

- To each of another 8 squares add 1 tsp of apricot jam in the middle, sprinkle some granular sugar around the edge and garnish with chopped nuts.

- Bake at 200ºC ( 390ºF) for 25 to 30 minutes.
- Let the pastries cool for 20 minutes before glazing with icing sugar. Icing sugar is made by combining confectioners sugar and water.

- Roll rested dough into a square shape, approximately 40 cm x 40 cm (16"x 16"). Dust with flour on each side to keep from sticking.
- Using a pizza cutter to cut the dough into a three 4" wide strips.
- Divide marzipan filling into 3 equal pats. Spread each part of the filling by creating a continuous 2 cm wide filling line in the middle of the dough strip, by length.
- Fold in the short sides of each dough strip, about 2.5 cm (1") wide folds.
- Fold in both long sides of each strip by overlapping them in the middle. Using side of your hand firmly press overlapped dough sides into marzipan filling.
- Brush all pieces lightly with egg wash, make them moist and shiny but not wet, top with sprinkled granulated sugar. Cover and let rise for 1/2 to 1 hour in warm place.
- Bake at 200ºC ( 390ºF) for 25 to 30 minutes.
- Let the pastries cool for 20 minutes before glazing with icing sugar. Icing sugar is made by combining confectioners sugar and water.


No Comments