
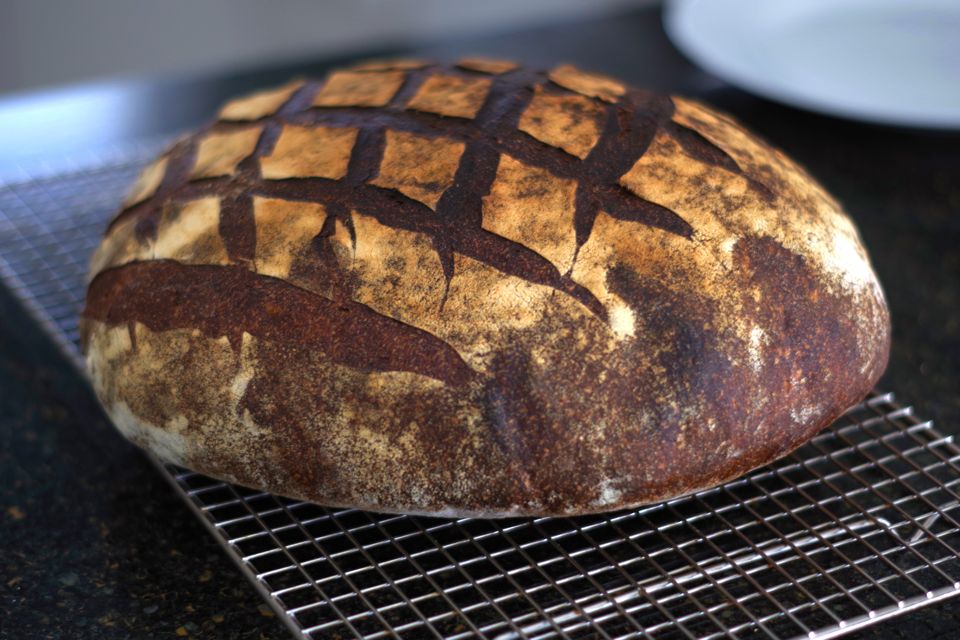
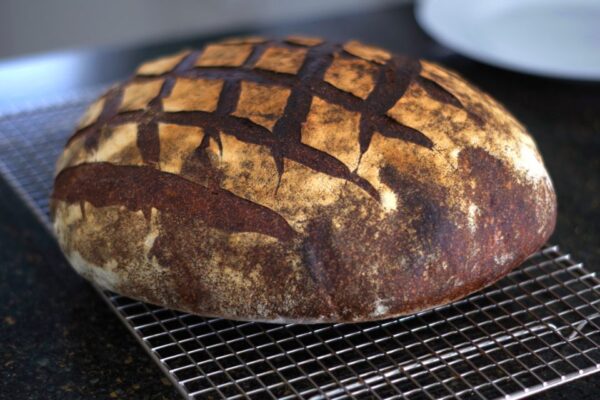
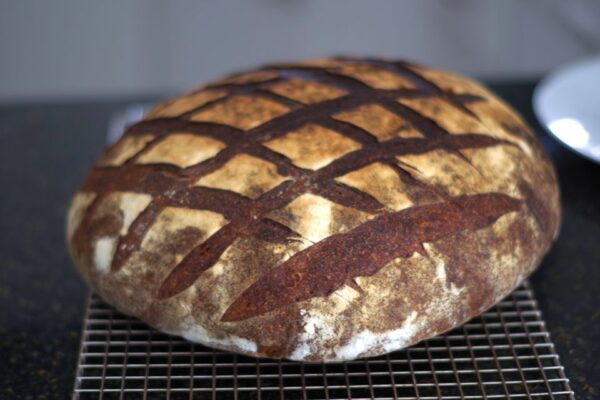
This is a truly aromatic bread with a beautiful nutty flavour! Another great recipe I have been baking for several years! The dip brown color comes from the natural sugars and starches caramelization after baking on a high temperature. The higher concentration of whole grain flours is a key contributor.
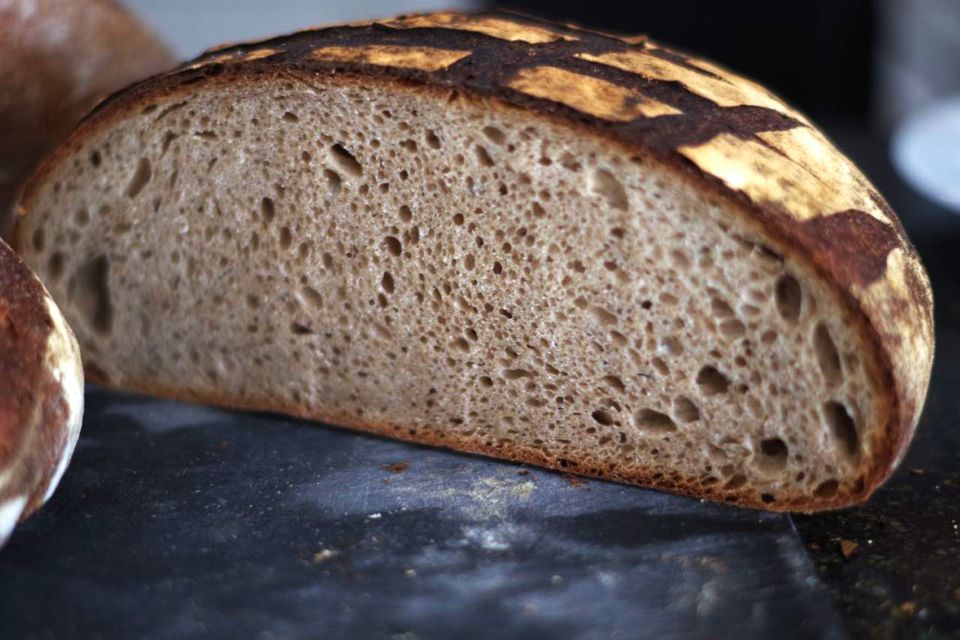
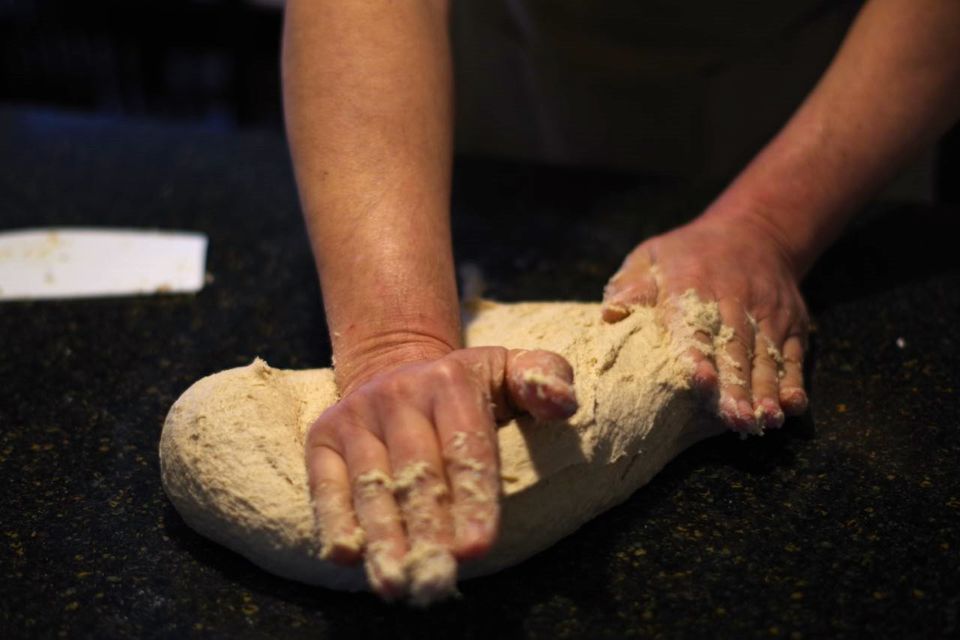
As usual the dough can be made either by using stand mixer or hand kneading. The dough hydration is 66% which makes it soft and stretchy, but not too wet. Perfect for hand kneading which is my preference. I do have a stand mixer, Swedish Ankarsrum, however for now I use it just for Panettone doughs. Perhaps I will use it for some bread recipes with very high hydration (ciabatta etc.) which would make them nearly impossible to mix by hand. For everything else, hand kneading it is! I truly enjoy the whole process and love to get my hands involved. Touching the dough and feeling it changing its texture consistency along the kneading process is just wonderful! From shaggy and crumbly sticky mess to smooth, silky and shiny developed dough! There is nothing quite like that!
The recipe dynamics is pretty standard when it comes to baking sourdough bread, lots of passive time and patience, little active work. The whole process takes little over 20 hours.
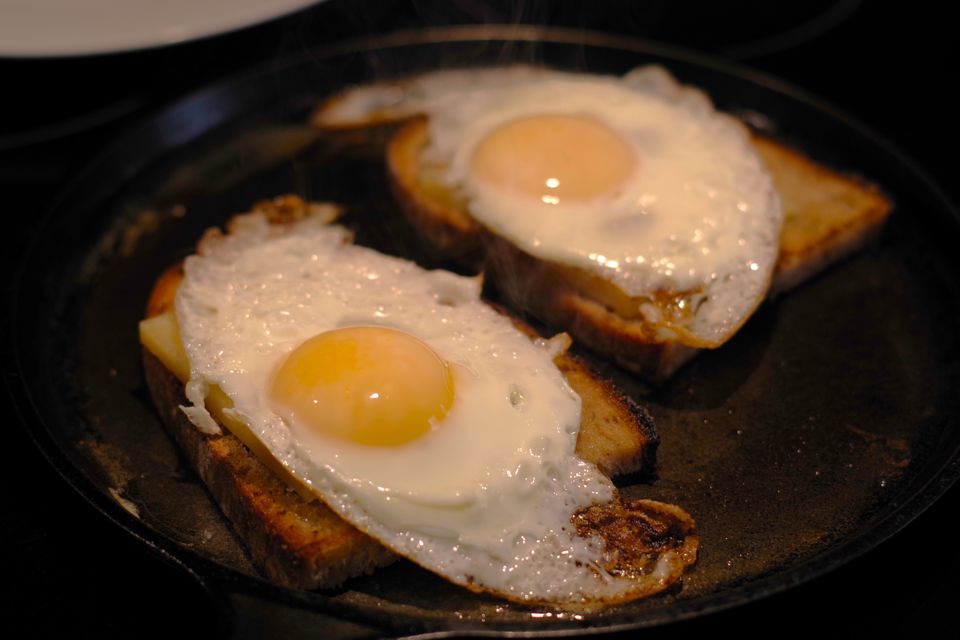
I enjoy this bread just with plain yogurt, sometimes simply buttered or perhaps the best when toasted on butter and then layered with melted cheddar cheese and fried egg. Add to it some good Ajvar and you are for a big treat!
Since it is a sourdough this bread easily holds up without getting moldy up to a week on room temperature, longer than that (if it lasts that long) I refrigerate it. Heating it up in a toaster easily brings it back to life!
The recipe has been adapted from Artisan Baking Across America by Maggie Glezer.
| Prep Time | 20 min |
| Cook Time | 70 min |
| Passive Time | 19 hr |
| Servings |
round loaf
|
- 25 g firm sourdough starter
- 140 g lukewarm filtered water
- 140 g unbleached bread flour
- 350 g whole wheat flour sift and measure 250 g, preferably from an organic hard winter wheat
- 750 g unbleached bread flour preferably organic
- 30 g whole rye flour preferably organic
- 660 g filtered water
- Fermented levain from Day 1
- 23 g fine sea salt
Ingredients
Day 1- Levain
Day 2- Dough
|
|
- In a small bowl add water and starter, mix until starter is dissolved.
- Add flour and mix until smooth, batter like dough is formed.
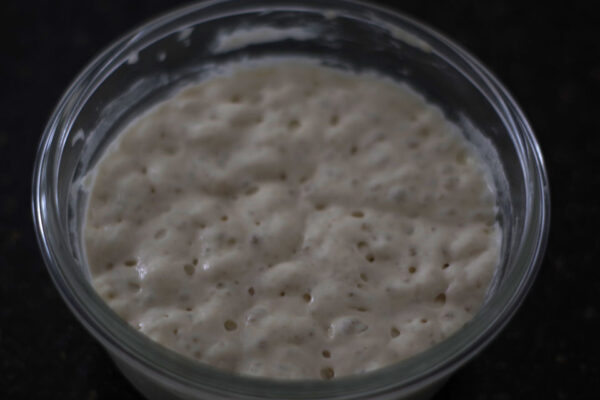
- Cover the bowl with plastic wrap and let it ferment overnight, approximately 8 hours. The levain should be risen and fluffy, just starting to sink in the middle.
- Sift the whole-wheat flour through a flour sifter. Measure 250g of sifted flour.
- Add part of water to a bowl with fermented levain and stir with spoon until loosened up and dissolved.
- In a large mixing bowl combine the flours. Add dissolved fermented levain and remaining water, stir with plastic scraper or hand until forming rough dough.
- Turn the dough onto unfloured counter and knead until the dough is very smooth and shiny, about 10 minutes. Use a windowpane test to confirm sufficient gluten development.
- Sprinkle the salt onto the dough and knead until the salt is fully dissolved and the dough is very smooth and shiny. The dough will be soft and sticky.
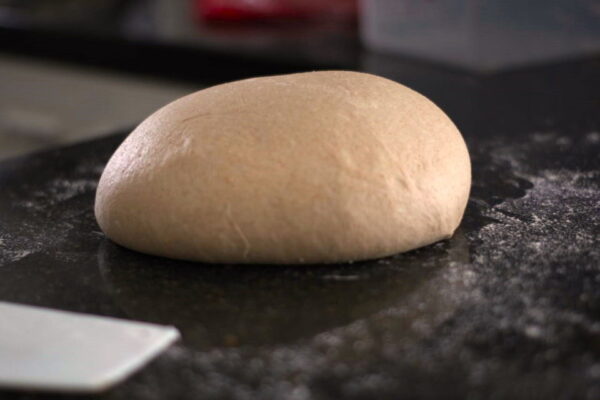
- Place the dough into a container at least 3 times its size, cover the container tightly with plastic wrap. Let it ferment at 24 ºC (75ºF), until nearly doubled, about 3 hours.
- Turn the dough onto a counter and stretch and fold in 30 minutes intervals during the first hour of fermenting. That means at 30, 60 and 90 minutes. Leave the dough undisturbed the remaining time.
- Turn the dough onto a lightly floured counter. Turn the dough piece skin side up (dry smooth side) and tuck under the rest of the dough. Cup your hands and pull the dough across the counter top, creating a smooth, slightly taut skin. Cover loosely with plastic and let rest for 15-30 minutes, until very soft and extensible.
- To shape a round loaf or Boule skid the dough across the counter, with cupped hands nudging the base of the dough. Rotate the dough as you are nudging it in order to obtain an even round. You want to get a very taut skin, stretched evenly into a perfect dome. This will take practice, but even if your shape doesn't look perfect it will still taste good! Let the dough rest for 10 minutes on the bottom seam to seal it.
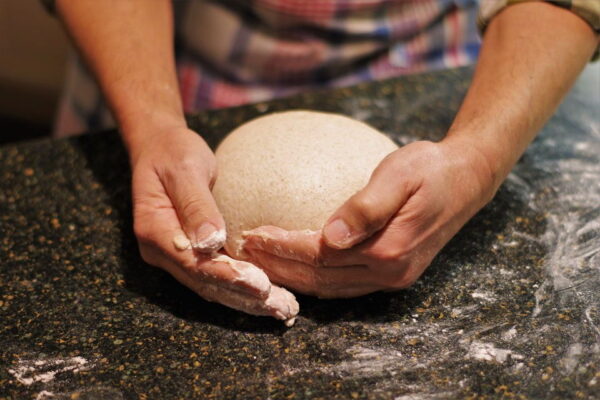
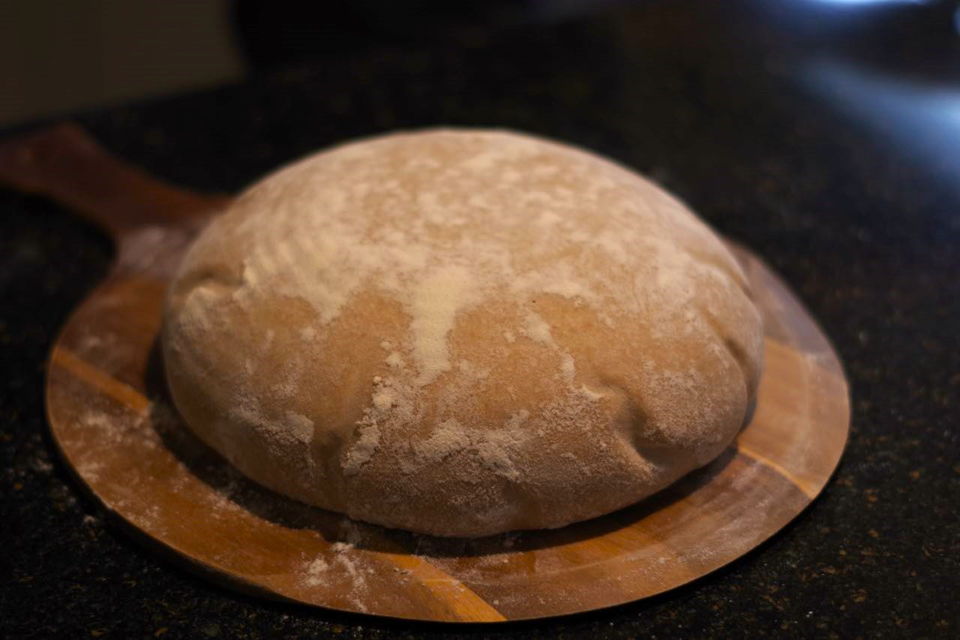
- Place the dough topside down in a linen lined basket, lightly sprinkle it with flour and cover it well with plastic wrap. I normally put the basket into a plastic bag and seal it.
- Proof the dough for about 4 hours on (24-29)ºC or (75-85)ºF . The dough should be about double in volume, remain indented when lightly pressed with floured finger.
- Before the dough is fully proofed (at least 45 minutes to 1 hour) prewarm the oven to 230ºC (450ºF) with the baking stone placed on top of the middle rack.
- Use razor blade or sharp knife to score the loaf. Create a skewed grid pattern by making several 3-4 decisive cuts horizontally and diagonally. Use dusted wooden peel to transfer the loaf to the baking stone. Use water bottle to spray inside the oven and create steam.
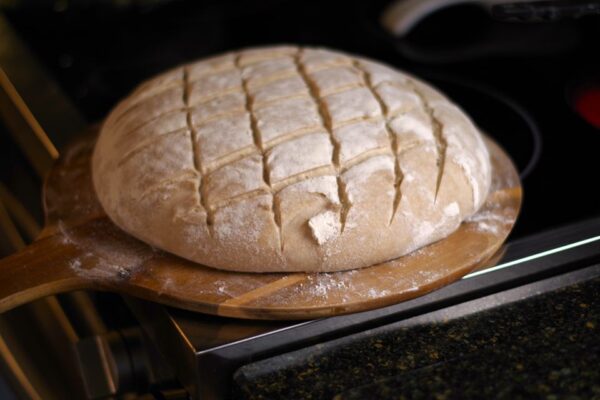
- Bake 70-80 minutes or until the bread is dark and evenly browned and sounds hollow when thumped on the bottom. Rotate the bread halfway into the bake. Note: If bread is browning too quickly reduce the temperature to 205ºC (400ºF) but still bake it at least 70 minutes.
- Transfer the loaves to the cooling rack and let cool completely.

No Comments