
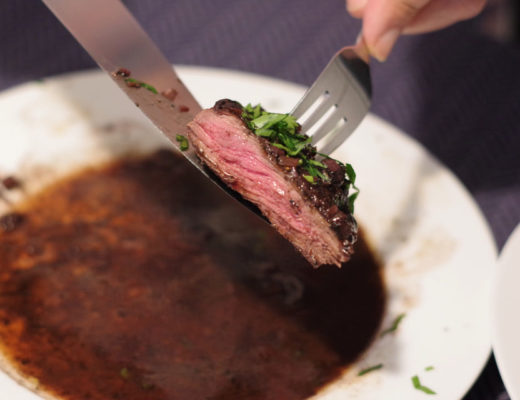
Chicken stock or chicken broth, what is the difference? They are both very similar and are indispensable ingredients for many dishes but each has a few distinct differences. Technically they are both based on a slow cooking process of selected vegetables with mixture of chicken bone and meat. The broth leans little more towards the meat side and is salted, the stock leans more to the bone side and is not salted. The stock is more neutral flavor and its accent is on the dissolved bone gelatin that will give body to sauces and stews. On the other side the broth emphasis is on the meat flavor.
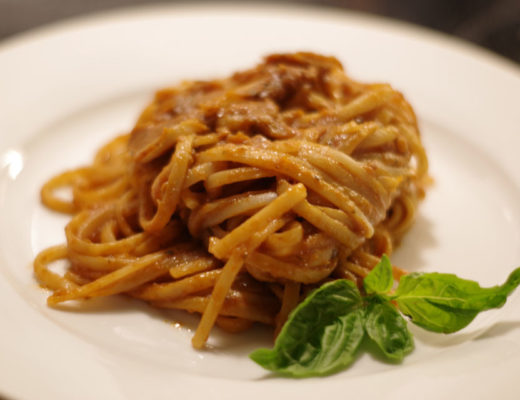
I use chicken broth almost exclusively for cooking Spanish paellas while stock is used for risotto, Bolognese pasta sauce, Jambalaya, etc.

They are both rather simple to cook but time consuming, so again the best time to do it is when you know you will be around home for a whole day. It takes about 6 hours between preparing ingredients, roasting, cooking and cooling off the broth on the first day. The second day after the fat layer is removed the broth is reduced over 3-4 hours of low temperature cooking.
It freezes well and if handled properly it can last up to 1 year in the freezer and up to a week if refrigerated. Make sure that either broth or stock are cooled off as fast as possible to about 10-15 ºC (50-60 ºF) before refrigerating or freezing. Use a water-bath with lots of ice. This is a crucial step in order to control a bacterial count and extend the shelf life.
The recipe is adapted from chef Greg Easter and his book/channel “Cooking in Russia”.

| Prep Time | 15 min |
| Cook Time | 9-10 hours |
| Servings |
ml
|
- 1.5 kg chicken preferably red meat (chicken legs)
- 225 g yellow onion coarsely chopped
- 125 g Spanish red onion coarsely chopped
- 100 g carrots coarsely chopped
- 100 g celery coarsely chopped
- 90 ml white wine dry
- 3-4 garlic cloves whole
- 1 Bay leaf
- 1/2 tsp black peppercorns
- 6 whole cloves (spice)
- 1 tsp coarse sea salt
- 5-6 sprigs fresh thyme
- 2 l water
Ingredients
|
|
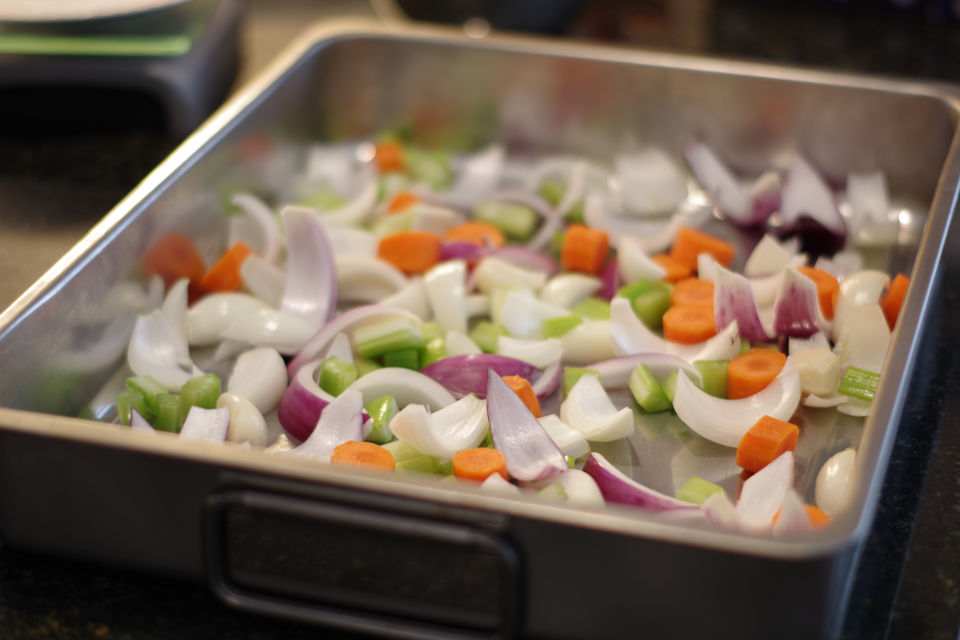
- Cut onions, carrots, celery, garlic cloves, spread over the bottom of a heavy baking pan. Put chicken legs on top in a single layer. Sprinkle with coarse salt.

- Roast at 180ºC (355ºF) for 45 minutes, with fan assist on. Position oven rack at the bottom of the oven.
- Transfer roasted chicken and vegetables to the 5 litre pot.
- Deglaze the baking pan with white wine and pour off to the pot, add water.
- Add to the pot: black peppercorns, whole cloves (spice), few sprigs of fresh thyme, bay leaf.
- Bring the pot to simmer and keep simmering for 20-30 minutes, uncovered. Start counting time when the first bubbles break to the surface. Simmering temperature should be about 77ºC (170ºF).

- Reduce heat to low (3 out of 10, or just under 3), cover with tight fitting lid and maintain simmer for 2 hours. Occasionally lift the lid and see if is not boiling or if the temperature is too low and you lost simmer.
- Remove lid, add the rest of the thyme sprigs and simmer for another 15-20 minutes.
- Use wooden spoon to separate meat from the bones, stir all together.
- Strain the liquid through a colander, press out as much liquid as you can from cooked meat and vegetables.
- Strain the liquid through fine strainer or sieve. Dispose of meat, bones and vegetables.
- Cool the pot off in a cold water bath in the kitchen sink. Add ice to the water bath. The goal is to cool the broth off to about 10-15 ºC (50-60 ºF) as quickly as possible and than put the lid on and refrigerate overnight.
- Skim off any fat from the top. Transfer the broth to a sauce pan and bring to a low simmer. Cook without lid until the total mass of reduced or concentrated stock is about 800 g. The easiest is to weigh the saucepan with broth inside, before the start of cooking. Check the weight periodically until the broth mass is reduced to 800 g.
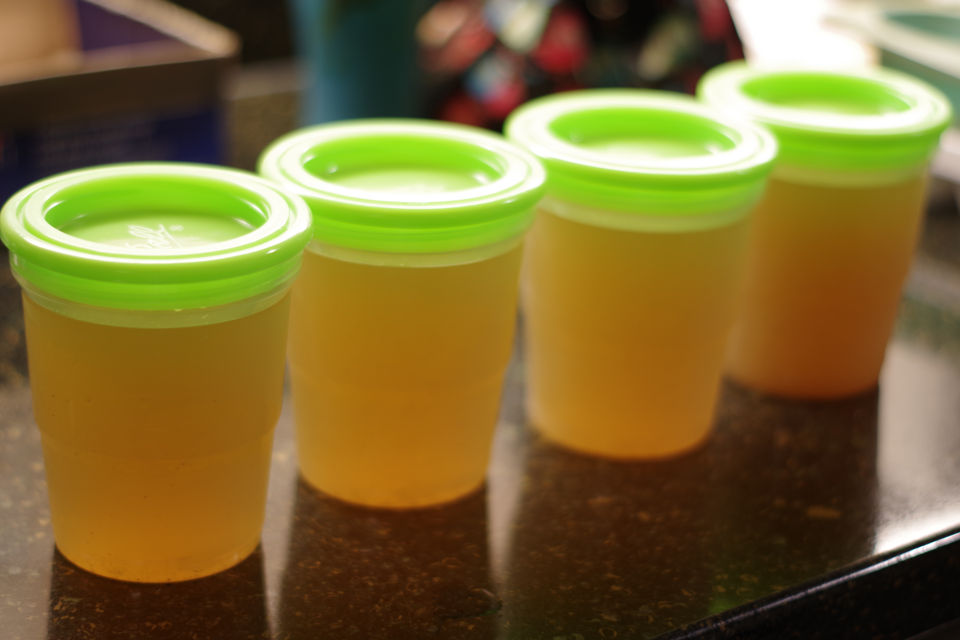
- Cool off the broth in a water bath with ice. Divide the broth in smaller cups and keep in the freezer.
- use preferably chicken red meat for broths because of added flavour.
- low simmer is the desired rate of slow cooking. Vigorous simmer or boiling would pulverize the vegetables and boil off most flavor molecules.
- the broth should be kept in the refrigerator for up to a week and in the freezer for up to 6 months.

No Comments