

Spring is finally warming up. Up until about a week ago temperatures were hovering in lower teens, being one of the coldest Springs on record. Well now when the heat arrived, it shot up instantly into stratosphere with the daily temperatures in low thirties followed with very high humidity. It is almost comical but yes now the AC is turned on or else one is destined to sleepless nights.
This weekend we have a community event and families were asked to make some sweets for a bake sale. A call for cooking that I have hard time resisting. Naturally it had to be something that will stand out well in this heat but at the same time something that is traditional and well known. After much thinking the choice came to baklava. Everybody knows what baklava is and it is hard to resist the temptation of this delicate dessert.
Baklava is a very old and traditional sweet pastry and despite having a long history, it is not very well documented. Frequently it is controversial and many ethnic groups consider baklava to be their own. Its origins span through: Middle East, Eastern Mediterranean, Balkans, and Caucasus. My first memory of baklava is from my high school days. At the time friend of mine had a habit to go once a week to a small downtown pastry shop and treat himself. He always ordered the same: krempita (custard slice), sampita (meringue slice) and baklava, and ate it in the same order. He claimed that baklava was a perfect finish to this triad. I was amused with the sheer size of the portion and besides krempita and shampita at the time were not my favorites. However, baklava was something else and and I have loved it ever since.

It is the staple dessert for pastry shops throughout Balkans. At my home region of Dalmatia, it was not ordinarily made by our mothers. I am not sure why since it was available in pastry shops. In home cooking, generally the preference was given to various cookies and tortes. Needless to say these were delicious in their own right but different and relatively simpler to make. However, during my studies in Serbia I discovered that baklava was a type of dessert that is widely cherished and made in every home. Pretty much every family had their own recipe. The baklava filling is normally with various chopped nuts, sour cherries, poppy seeds etc. In Serbia it is commonly made for a special occasions and regularly for religious holidays as: Lenten Slava, Christmas and Easter.
Baklava is not a dessert that is quick and easy to make. No surprise here since that is the case with almost any of the amazing desserts. Making baklava requires high level of energy and patience. Normally people prefer to use a store bought filo dough since rolling out their own takes skill and time. However, when it comes to quality and taste of final product there is no comparison. Considering that in my world of food making, quality and taste are paramount without compromise, I made baklava from scratch.

The baklava I am accustomed to is heavy on the filling side. Prevailing view is: the more the filling, the richer and better it is. To some extent that is true and I especially love walnut or poppy seed filling. Baklava dough texture is normally soft and syrupy.
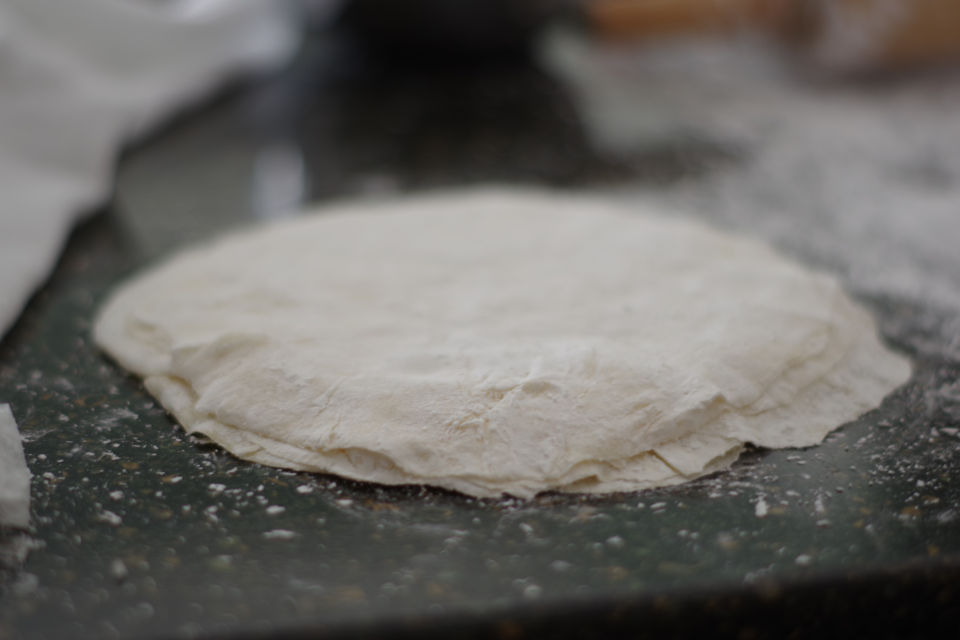
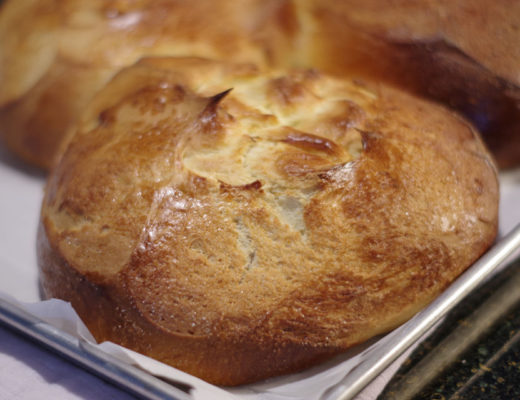
This time I wanted to make a new variation that will bring out different qualities. It turned out to be a fantastic effort and I was very happy with the result. The recipe is for Turkish Baklava with at first look 48 mind numbing paper thin filo dough layers. Challenging it is, that is without doubt, but I love a challenge that raises the bar and makes me learn and experience something new. On the bright side it is actually easier than it sounds. When you do it, you realize that there is a method to the madness. Individual dough layers are first rolled out to a manageable smaller size, and then stacked up. The stack of layers is then magically rolled out all together to a baking pan size.
Rolling the dough was almost a meditative experience for me and I enjoyed it a lot. It is near miracle experiencing conversion of 3 cm (~ 1″) dough ball into a 30 cm (~12″) paper thin filo layer. The ingredients are simple and inexpensive but the art is in the making it. The taste is priceless. Baklava will stand well on a room temperature for up to a week, perhaps even longer, but its delightful taste usually assures that it doesn’t last more than couple of days.
My take on Turkish Baklava:
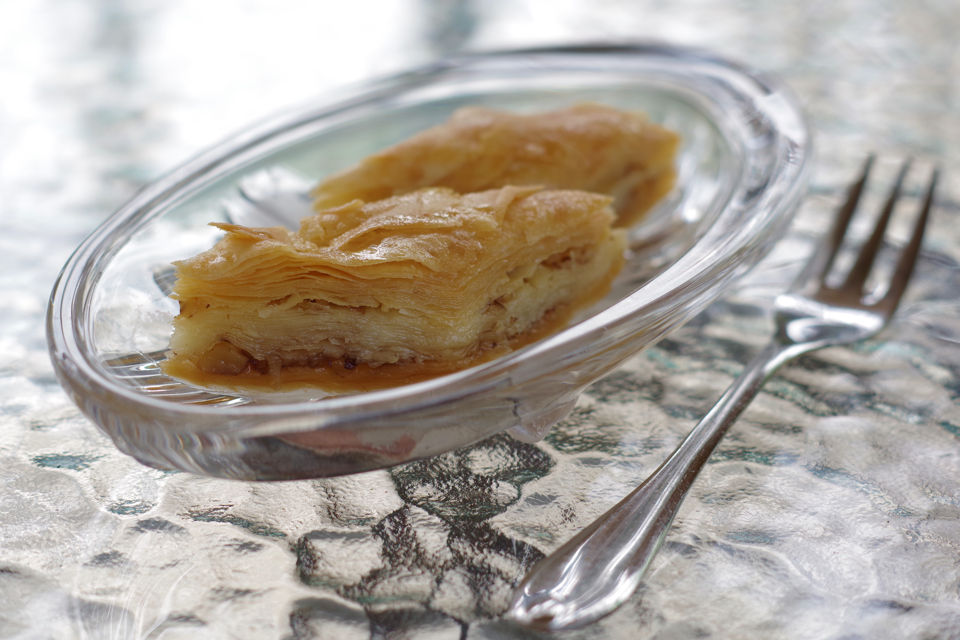
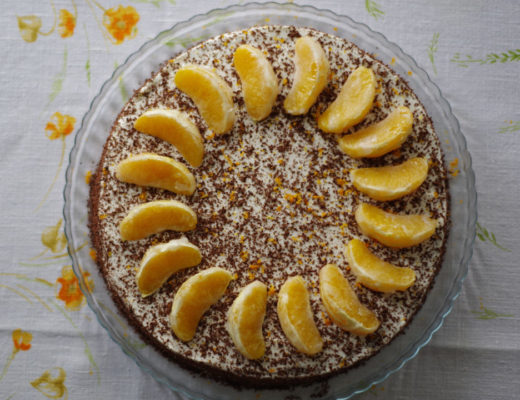
It is a marvelous sweet dessert pastry, delicate and rich. Described in a few words: not too sweet, syrup soaked but not runny, beautifully buttery flavored with crunchy mouthfeel. I would say it goes best prepared as a one-bite small dessert. For that I would cut it next time into a smaller 3 cm (1″) rhombus shape pieces. Diamond shaped cut I did this time worked fine too. In this case it could be considered a two-bite dessert.
")
| Prep Time | 3.5 hours |
| Cook Time | 50 minutes |
| Servings |
pieces
|
- 1 piece egg
- 62 ml vegetable oil 1/4 cup equivalent
- 125 ml milk 1/2 cup equivalent
- 240 g all purpose flour 2 cups equivalent
- 1+1/4 tsp baking powder
- pinch sea salt
- 165 g cornstarch for dusting
- 125 g walnuts 1 cup equivalent; coarsely chopped
- 75 g unsalted butter 1.5 sticks equivalent; melted and clarified
- 500 g granulated sugar 2.5 cups equivalent
- 375 ml water 1.5 cup eqivalent
- 1 tbsp freshly squeezed lemon juice
Ingredients
Dough
Filling
Syrup
|
|
- Mix all the dough ingredients together in a large bowl. Start with most of the flour amount and add progressively as you kneed the dough until the targeted consistency is achieved.
- Kneed the dough for about 8-10 minutes to make a soft, non sticky dough. Cover and let it rest for 15 minutes.
- During the resting time, prepare syrup as per instructions below.
- Lightly dust a counter working surface with a flour. Roll the dough into an even cylindrical shape and divide into 3 even sections.

- Roll each of these 3 sections again into a cylindrical form and further divide into a 4 equal parts.

- Roll each of these sections again into the smallest cylinder up to this point, and divide again into additional 4 equal size parts. Roll each piece between your palms and form a ball. At the end you will end up with 48 soft dough balls with an approximate diameter of 3 cm (~1"). Divide the balls in 3 groups of 16, put aside and cover to prevent drying out.
- Add a cornstarch to a small bowl.
- Take the first dough ball and roll it freely in the corn starch. Squeeze the ball lightly with your fingers and flatten it with your palm against the cornstarch-dusted counter. Using a rolling pin, roll out the dough into approximately 15 cm (6") round shape. Dust the top of the rolled dough layer with cornstarch again and put aside. This is an important step that will assure that layers don't stick together as you stack them up.

- Take the second ball and repeat the whole procedure until you create a stack of 16 dough layers. Put it aside.

- Repeat an identical process until two more stacks of 16 dough layers are formed.
- Butter 30 cm (~12") round baking pan.
- Using a rolling pin carefully roll out the first stack to 30 cm (~12") round shape. Flip the stack back and forth and dust with cornstarch as needed. Don't worry if some cracks develop around the edges or on the top layer. Place the developed stack in the baking pan.
- Sprinkle with half of the chopped walnuts and spread evenly.

- Repeat the same process with the second stack and place it on top of the walnut layer. Sprinkle and spread evenly the reminder of the chopped walnuts.
- Roll out the final third stack and place it on the top of the second walnut layer.
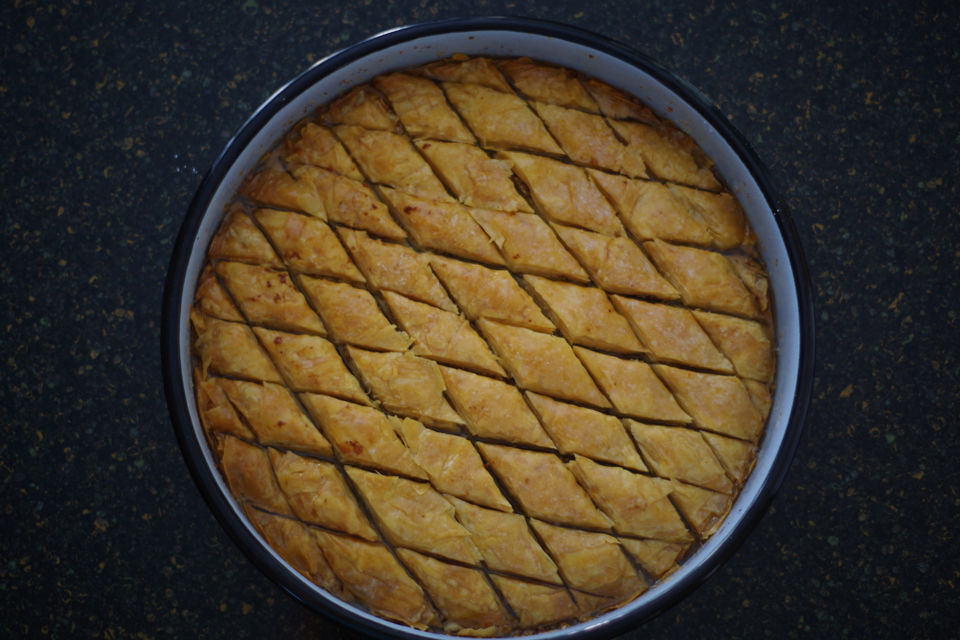
- Using a sharp knife, cut the baklava into approximately 3 cm (~1") wide diamond or rhombus shapes.

- Preheat the oven to 175 °C (350 °F).
- Melt the butter over low heat to avoid burning. As the butter melts, skim the foam formed on the surface. These are milk proteins that will burn in the oven if not removed.

- Spoon the hot butter across the full baklava surface running along cut lines.
- With the rack in the middle of the oven, bake for about 50 minutes or until golden brown. After the baklava is taken out of the oven, let it cool for 10 minutes before adding the syrup. This is very important since adding syrup to hot baklava will make it soggy.
- Laddle the syrup by running along baklava's cut edges. Let it fully soak in, the best if left overnight.
- Add sugar and water to a medium size sauce pan. Over medium heat, stir it gently until the sugar is fully dissolved. Once the boiling point is reached, reduce the heat to low and let it simmer for 14 minutes.
- Add lemon juice and let it simmer for another minute. Take it of the heat and let it cool to room temperature before ladling the baklava.
No Comments