
Although I hail from the Balkan peninsula, I did not completely understand how culturally rich and diverse that part of the world is. It is only after I left, that I became more aware of it, missed it, and appreciated it to a much larger extent. While in Canada the provincial boundaries (and distances of hundreds if not thousands of kilometers) largely define the cultural landscape, in the Balkans one needs to travel no more than 20-50 kilometers to encounter: different customs, different dishes and frequently even a specific local dialect! Just recently we had a friend visiting from Leskovac, city in southeastern Serbia, and she taught us how to make Kisela Pita; a traditional baking delicacy from that area. My wife is also from South-Eastern Serbia, but yet she has never heard of this pastry, let alone tried it. As I said that is nothing unusual given the regional characteristic of foods in the Balkans.

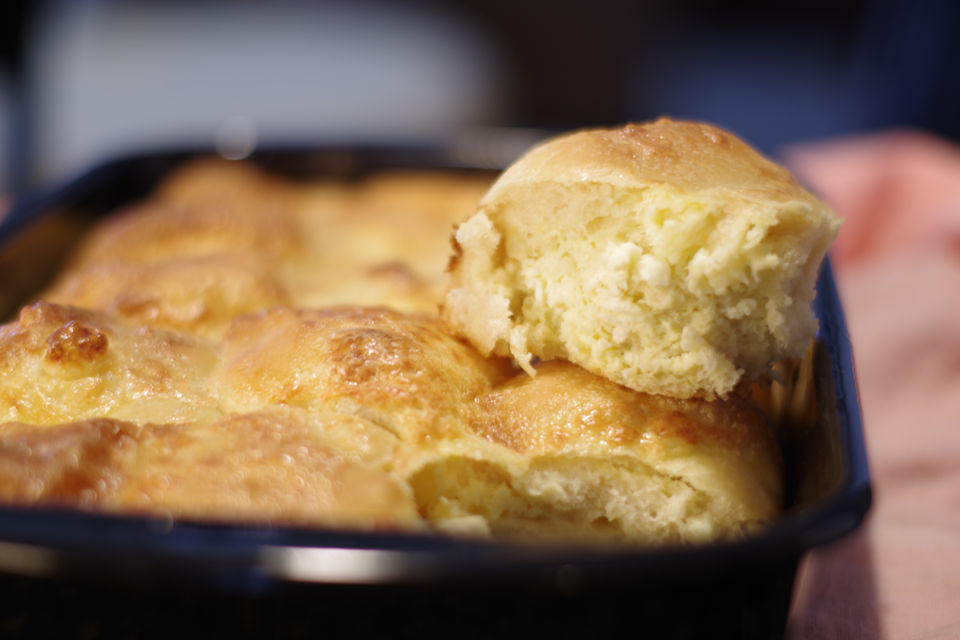
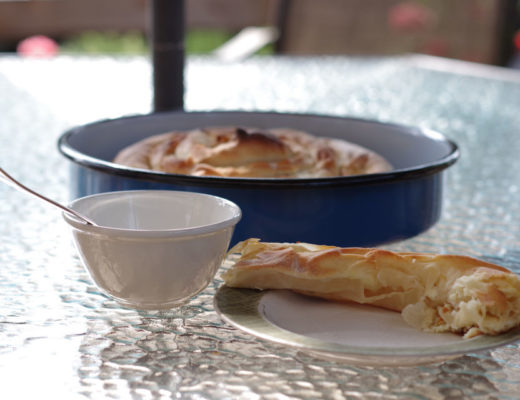
It is fascinating that every city, town, village or even each individual family, harbors and maintains so many truly unique and surprisingly tasty food recipes, passing them on through generations. Kisela Pita or directly translated “Sour Pie Pastry” is just one of those traditional recipes. It is a raised dough pastry with a cheese filling; soft and aromatic. It is perfect for breakfast enjoyed with cold yogurt, or as an afternoon snack, ideally paired with: aged cheese, smoked cold cuts, tursija (pickled vegetables), ajvar etc. It is good, heavenly good, with anything!
I made it recently for our family gathering, and the baking pan was wiped out clean in less than 20 minutes! That pretty much testifies what I am talking about. We like it it so much that now I just keep baking it weekly. It is just so addictive!
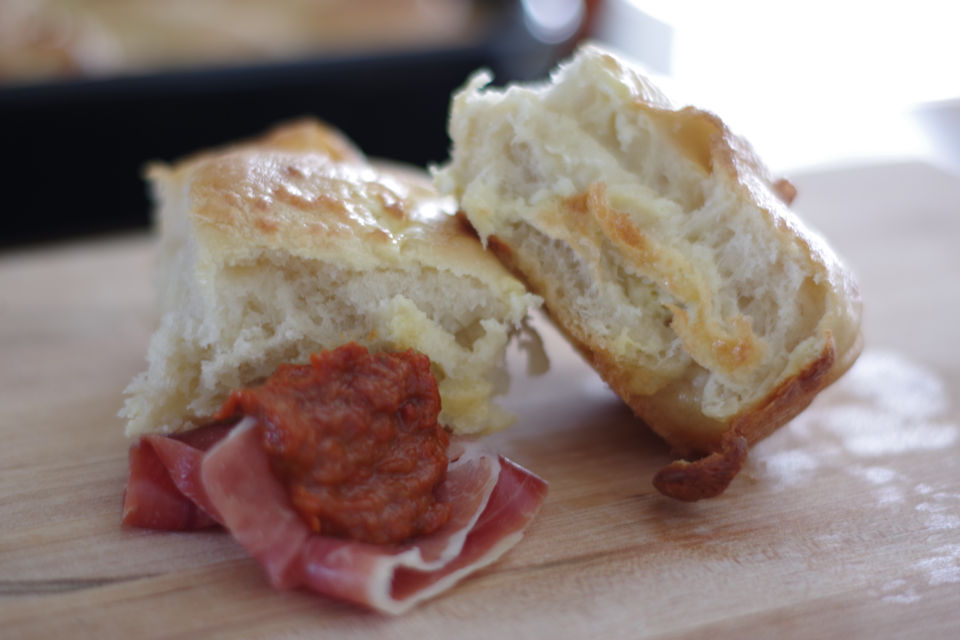
We use it as a substitute for bread or as a meal on its own. It is easy to make, clean and simple, without making a mess. In general I would qualify it technically to be one of the easiest pastries I have made so far. After many bakes, I did make a little change to the original recipe, with addition of sour cream. It definitely benefited the recipe, adding even more to the pastry’s softness, and at the end gave it a mark of my own. Ha, ha not even after a month or so, this is all it took to add a new twist to the original recipe. It is no wonder there are so many different recipes and everybody’s recipe is somewhat unique by embodying some of their personal touch.
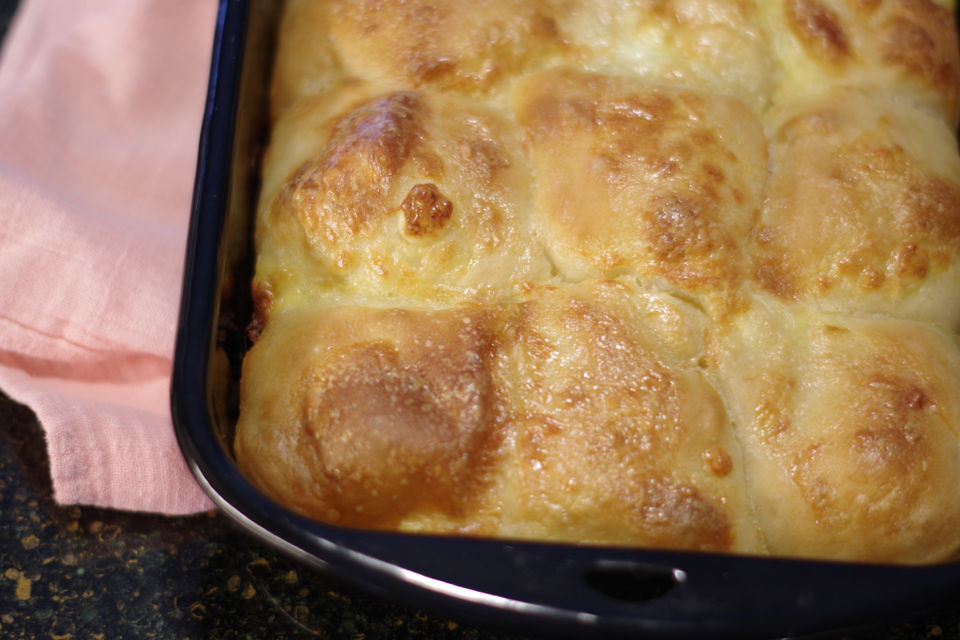
Kisela Pita is the best on the same day when baked, but holds well through the week as long as is tightly wrapped in plastic film. Microwaving it for 15 seconds gives it a second life and the flavor of a fresh bake. Enjoy!

| Prep Time | 30 min |
| Cook Time | 30 min |
| Passive Time | 2 hours |
| Servings |
servings
|
- 500 g all purpose non bleached flour
- 16 g fresh yeast
- 1 tsp granulated sugar
- 1 tsp sea salt
- 1 tbsp extra virgin olive oil + some for baking pan and dough brushing
- 350 ml filtered water lukewarm
- 150 g sour cream regular, 14% BF
- 200 g feta cheese crumbled
- 1-2 eggs
Ingredients
|
|
- In a medium size mixing bowl dissolve yeast with a little water. Stir in sugar and 1-2 tablespoons of flour. Let it rest for 5 minutes.
- Measure and sift the rest of flour together with salt in a separate bowl.
- Into a bowl with dissolved yeast mixture add: sifted flour/salt, water, sour cream and olive oil. Using a wooden spoon, mix until completely combined and there are no dry spots left. Leave wooden spoon in the bowl, tacked under the wet dough. Add a little olive oil on your palm and coat the top of dough by massaging it gently. Cover the bowl with plastic film, set aside for 30 minutes.
- Remove plastic film and mix the dough with the wooden spoon. Do it so in a scooping motion, from the bottom up, stretching the dough with the spoon to just before the breaking point. That is normally about 10-15 cm (~1 ft) above the bowl. Experiment and find out by yourself how far you can stretch the dough before it tears up. Do this for 5 minutes. Cover the bowl again, the spoon left in, set aside for another 30 minutes.

- Repeat the same mixing process again, remove the spoon, tightly cover the bowl with plastic film and leave in the fridge overnight.
- Crumble cheese in a medium size mixing bowl. Add 1-2 eggs and mix well until combined. Set aside.
- Oil (well) the bottom of a 34 x 20 cm (13"x 8") deep baking pan.
- Oil your palms and by shaping your hand as a scoop, tear off a handful of dough. Dip it briefly on the bottom of the baking pan and turning it few times making sure it is fully coated with oil. Stretch it gently with your hands to a little over a palm-like size. The dough will be very elastic and easy to stretch.

- Add a teaspoon of cheese egg mixture in the middle of the stretched dough. Fold the dough sides in, overlapping, creating a ball shape. Place the ball in the baking pan, the seam side down. I usually end up with 5 rows of 3 balls. It takes some practice to gauge and form the balls that are fairly similar in size.

- Repeat the same process until all the dough has been used. You should have some cheese/egg filling left over, that will be used to coat the balls' top after the dough rises.

- Let the dough rest for 30-45 minutes. By this time the balls should rise enough to close the spaces in between them.

- Preheat the oven to 235ºC (450ºF), conventional baking oven, rack in the middle.
- Spoon the egg/cheese mixture evenly over each ball.

- Bake for 9 minutes at 235ºC (450ºF) , reduce temperature to 210 ºC (415ºF). Bake for another 20 minutes.
- Sprinkle with cold water and cover with clean kitchen towel. Let cool for 1 hour.

2 Comments
Ana
November 24, 2025 at 4:32 amHi Gordan,
Thank you for this recipe and technique for preparing the dough. This stretching part, while the dough is being risen is very interesting to me.
It’s similar to handling a high hydration doughs or Napoletan style pizza douhg, even though this dough is pretty compact and standard hydration.
I must admit that even though I am an avid baker and very versed in stretching phyllo dough, I have never heard before of this pie.
I was born and raised in Banja Luka, we have a pie version that is made with yeasted dough or dough taken from bread, but it’s usual process, like for normal phyllo-stretched in bigger sheets, rolled after filling and baked in rows or spirals.
After i read your post i was looking online for similar recipes and even when searching for with this specific name “Čaije”, yours is very unique in shape and process!
Puno pozdrava,
Ana
Gordan
December 19, 2025 at 11:31 amHi Ana, thank you for your wonderful message, I am so happy that you liked the recipe! I learned the recipe from a family friend from Leskovac, southern Serbia. It is an authentic regional recipe that I also had never heard of before. All the best and thank you for your kind note!