A few days ago was this year’s Family Day, a statutory holiday in Ontario and a great opportunity to host a party. The same as every year we had our cousins over at our place, we enjoyed some good food and had a great time together. There is no better feeling than being surrounded with family and the loved ones.
The food offering was quite exciting and everybody could find something that pleases their taste buds. My wife made baked chicken and several interesting salads. I liked the best her savory eclairs. That was a lovely pastry filled with filling made of cream cheese, chives and roasted chicken meat. It was delicious!
For my part I baked what is known as “Kisela Pita”, or “Sour Pie” translated in English. Additionally I also baked a dessert: Black Forest Cherry Cake or Schwarzwälder Kirschtorte.
Kisela Pita is a fairly new item in my baking repertoire. A few weeks ago we were visiting our friends that just got a baby, and that is where we tasted this wonderful, light and fluffy, raised dough cheese pastry. The pie was baked by our friend’s mom and is a specialty from her hometown Leskovac in southeastern Serbia. We liked the pie so much and asked her if she would be willing to come to our home and teach us how to make it, which she generously accepted. I will soon write a separate blog post on this pie, all I can say is that the large round baking pan was emptied within 20 minutes. Seductively tasty!
The dessert I made was a famous Schwarzwälder Kirschtorte, a fruit cake with German origins. It is also known as Black Forest Cherry Cake. The invention of cake is credited to German confectioner Josef Keller and the first written recipe records date back to 1915. He served the cake at his cafe “Café Agner” located in Bad Godesberg which is today a suburb of Bonn. Black Forest (Schwarzwald) is a mountain range in southwestern Germany, some 500 km south from Bonn. Although intuitively that seem what inspired the cake name, it is not so. Instead of the mountain range the cakes’s name stems from Kirsh, a specialty liquor from that region. Kirsh is obtained by distilling tart cherries. It is this liquor that together with sour cherry flavour that gives the cake its distinct taste.

There are many recipes of this cake but I was striving to make it as authentic as possible. I was looking through primarily German/Austrian sources, relying heavily on my baking experience while crawling through number of recipes. Analyzing between the process technique employed and ingredients used I eliminated recipes that had obvious modern twists and occasional visible preparation shortcomings. At the end I can’t claim that one that I picked is the “one and only” but I can tell you that it is exceptionally good and that my family was very exited and spoke highly of its wonderful taste. The recipe was adapted from Mimi’s Kingdom with few of my enhancements.
This is by far the tallest torte I ever made. By the time I was done I barely could fit it in a large cake box, it was huge! It is a perfect cake recipe to please a large crowd.
The combination of chocolate and sour cherry with hints of Kirsh liquor flavour creates a myriad of unique compliments resulting in special and tasty cake.

| Prep Time | 2 hours |
| Cook Time | 1 hour |
| Passive Time | 2 hours |
| Servings |
servings
|
- 200 g all purpose non bleached flour sifted
- 1 tbsp unsweetened cocoa powder sifted
- 1 tsp baking powder sifted
- 50 g granulated sugar
- 10 g vanilla sugar
- 100 g unsalted butter cold
- 4-5 tsp ice water
- 8 eggs separated
- 1/2 tsp cream of tartar
- 180 g granulated sugar
- 10 g vanilla sugar
- 1/2 tsp ground cinamon
- 6 drops bitter almond extract
- 220 g all purpose non bleached flour sifted
- 20 g unsweetened cocoa powder sifted
- 12 g baking powder sifted
Ingredients
Flaky pastry layer
Biscuit layers
|

|
- With the rack positioned in the middle preheat the oven at 160 ºC (320 ºF).
- Butter 28 cm (~10.5 ") springform cake pan and line the bottom with parchment paper.
- Sift together flour, cocoa and baking powder in a medium size mixing bowl. Stir in vanilla sugar and granulated sugar.
- Add cold butter cut in 1.5 cm (~1/2 cubes), toss and coat with the flour mixture. Cut the butter in using a pastry blender until the texture resembles a coarse meal.
- Add chilled water to the mixture and toss around with wooden spoon until somewhat incorporated. Knead with your hands briefly until just incorporated into a compact dough mass.
- Flatten the dough into a disc, wrap in a plastic wrap and refrigerate for about 30 minutes.
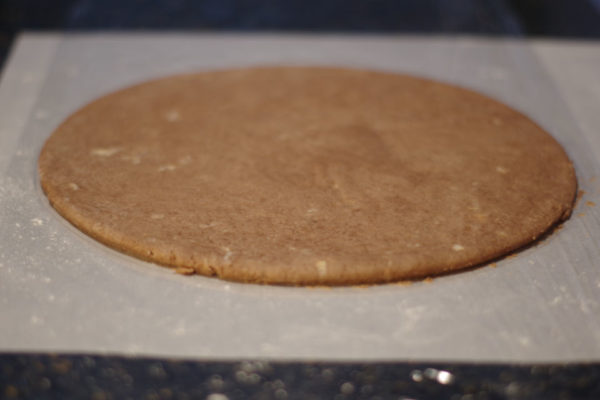
- Take out the chilled dough disc from the fridge and roll it out with a rolling pin on top of the parchment paper, working from the center out. Keep rotating the paper to make the dough circle as even as possible. I used a pizza cutter and springform pan as a template to cut a perfectly fitting circle.
- Transfer the dough into the baking pan. Turning the dough upside down, carefully peel off the paper. Using palms of your hands fit the dough gently to the pan.
- Put the pan in the oven and bake at 160ºC (320ºF) for 15 minutes.
- Increase the heat to 180ºC (350ºF) and bake for another 5-10 minutes, or until golden brown.
- In a medium size mixing bowl beat the egg whites on a medium speed until they form soft peaks. At high speed gradually beat in 4-5 tbsp of sugar until the whites are stiff and shiny. Set aside.
- In a large bowl at high speed beat; egg yolks, vanilla sugar, and the remainder of granulated sugar. Beat the mixture until thick and pale yellow, approximately 3-5 minutes. Mix in cinnamon and almond extract.
- Carefully fold in about 1/4 of egg whites. As the mixture becomes thinned, light and uniform, fold in the rest of the egg whites.
- Sift together cocoa, flour and baking powder. Using a large balloon whisk carefully fold it in to the egg mixture. Work it in by first adding 1/2 of cocoa mixture and then follow with the remainder.
- Pour into the baking pan, smooth the top and bake at 175ºC (350ºF) for about 30 minutes, or until a toothpick comes out clean.
- Cool on a wire rack for 5 minutes. Remove the pan side, invert on the rack, remove the pan bottom and the paper. Re-invert the biscuit on the rack, right side up and let it cool completely.
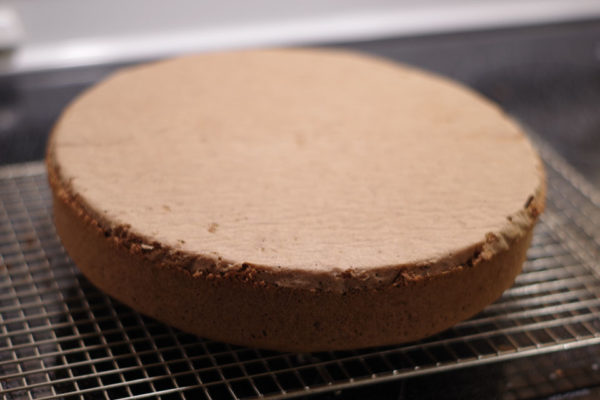
- Cut the biscuit into a 3 even thickness layers.
- Drain the cherries (save the juice!), separate 20-30 pieces that you may use for cake decoration.
- In a small bowl mix together Kirsh, water, 3 tbsp sugar and cornstarch. Make sure the cornstarch is fully dissolved, without lumps.
- Measure the cherry juice volume and if need add the water to make 350 ml total. Pour into a medium size sauce pan and brig it to boil over medium heat.
- Pour Kirsh mixture into a boiling cherry juice, whisking constantly until it thickens up, 2-3 minutes. Stir in drained cherries, remove from the heat. Proceed immediately with spreading warm filling on prepared cake layers, please see recipe notes.
- On a counter line up all 4 cake layers, starting with the flaky pastry layer and 3 precut biscuit layers.
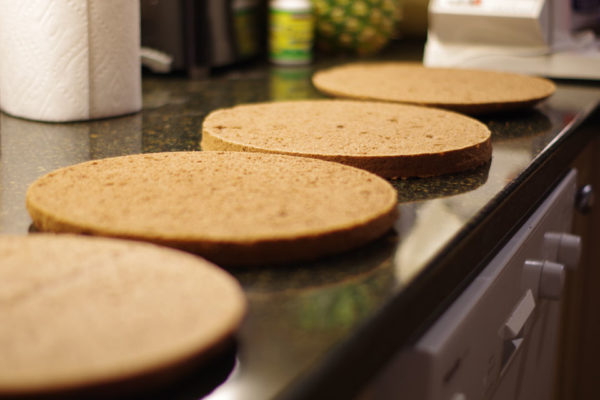
- Sprinkle all 4 layers with Kirsh liquor.
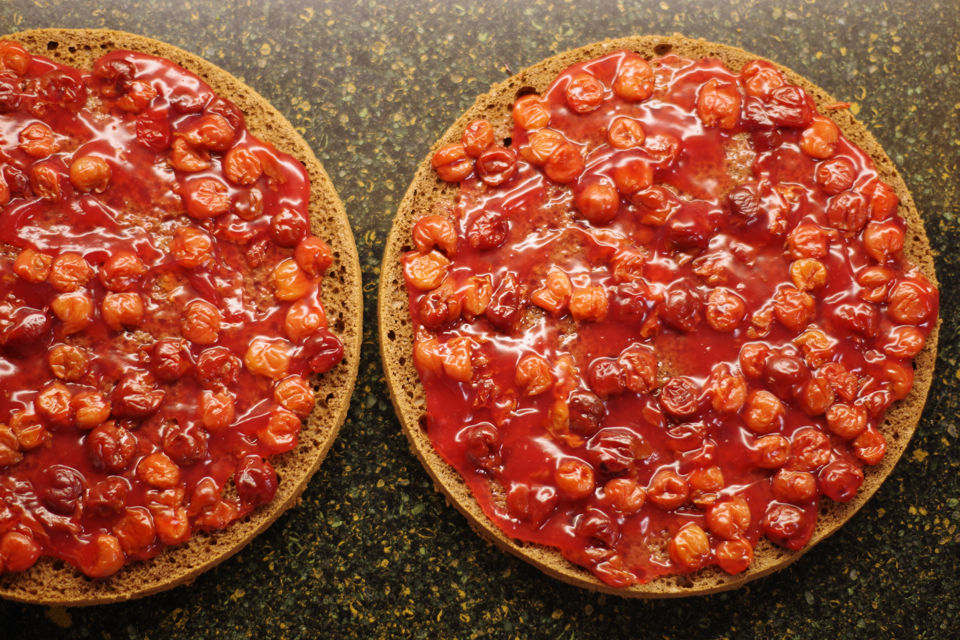
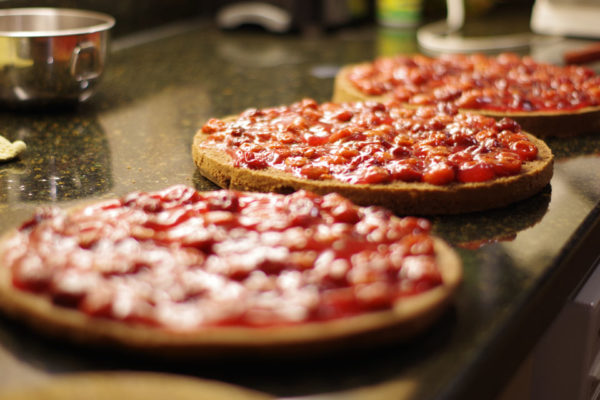
- Divide cherry filling into 3 equal parts and spread over the flaky layer and 2 biscuit layers. Leave 1 biscuit layer empty, without filling. Let it cool completely.
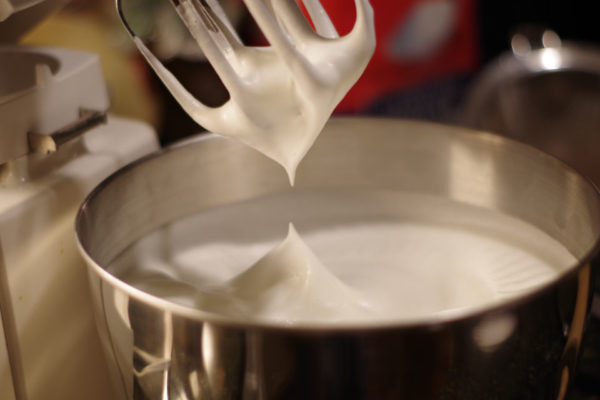
- In a large chilled bowl add cold cream and vanilla extract and start to beat at high speed. Sprinkle in 4 tbsp sugar as the cream starts to thicken. Continue until the cream is stiff and shiny. Do not over-whip the cream!
- Place filled flaky pastry layer on a display plate and spread over it evenly about a cup of fresh cream.
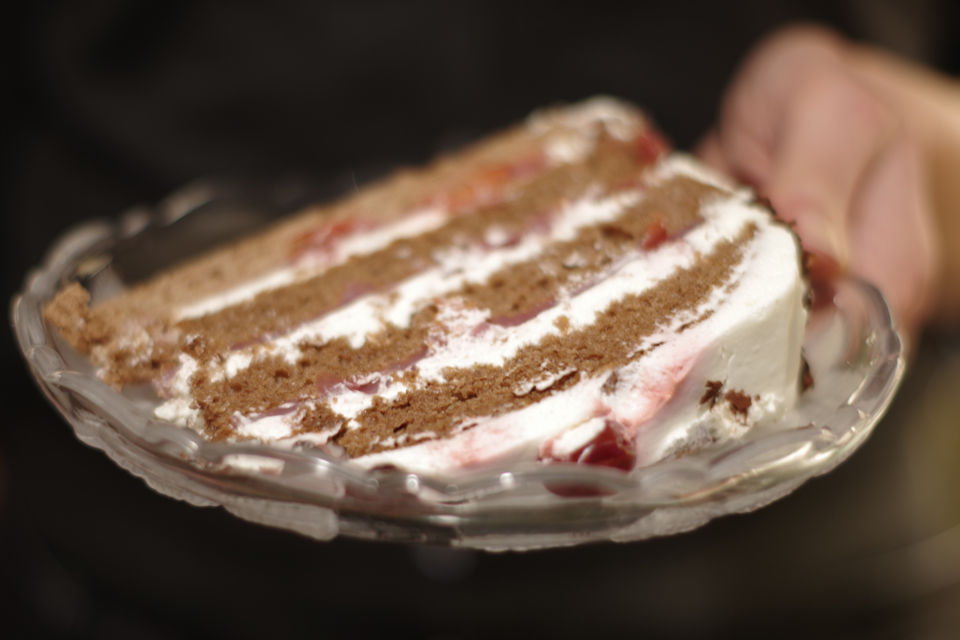
- Top it up with another filled biscuit layer with cup of fresh cream evenly spread on top of it. Repeat the same with other 2 biscuit layers as you stack them up.
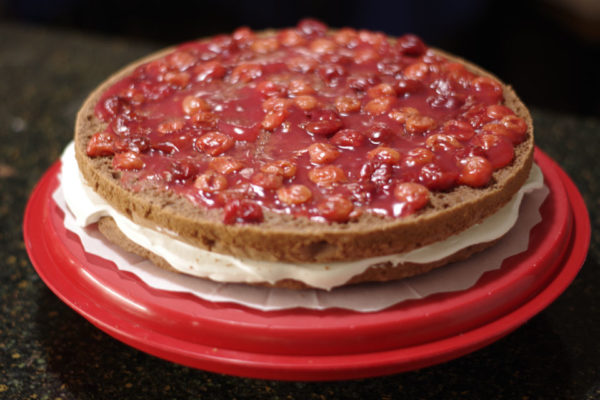
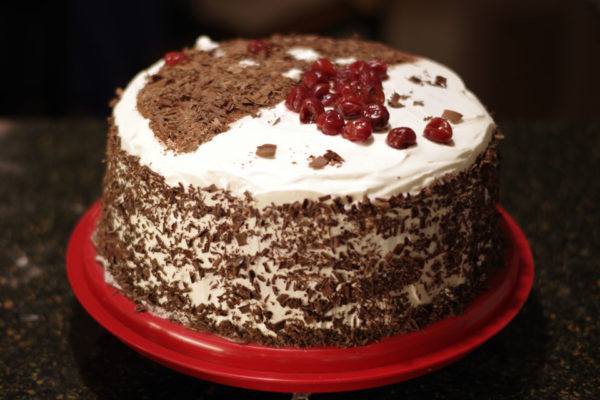
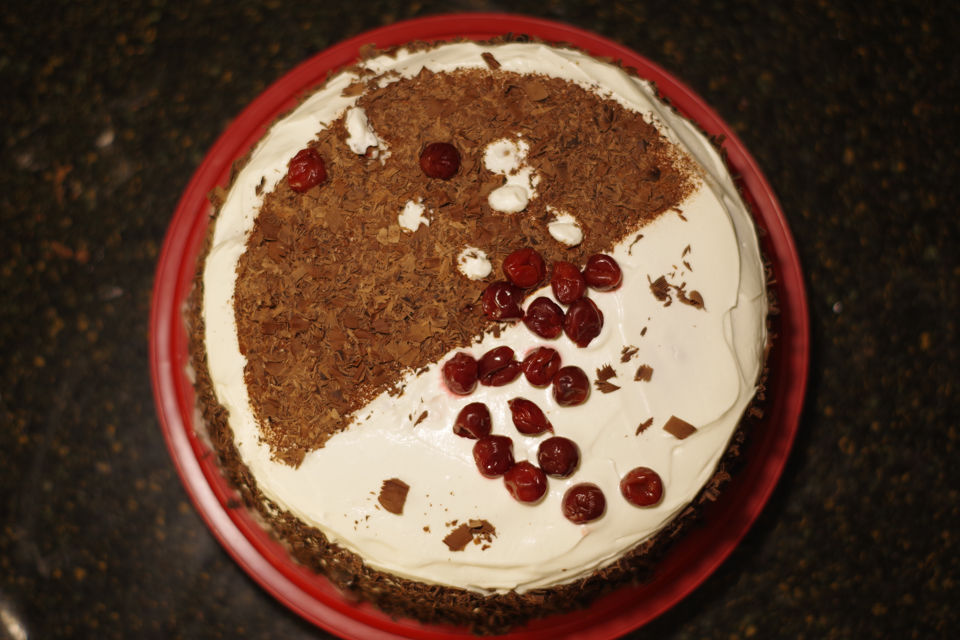
- Place on top the last, empty biscuit layer. Use the rest of the cream to spread over the top and the sides of the cake. Decorate the cake with cherries and grated chocolate.

- Cover the cake and keep refrigerated until it firms up.
-Do not start cooking filling until the biscuit is completely cooled off and the layers are cut. Flaky pastry layer and biscuit layers have to be lined up and ready to receive warm cherry filling spread, as it is cooked off.

No Comments